Mar 29
Mordheim Window Frames
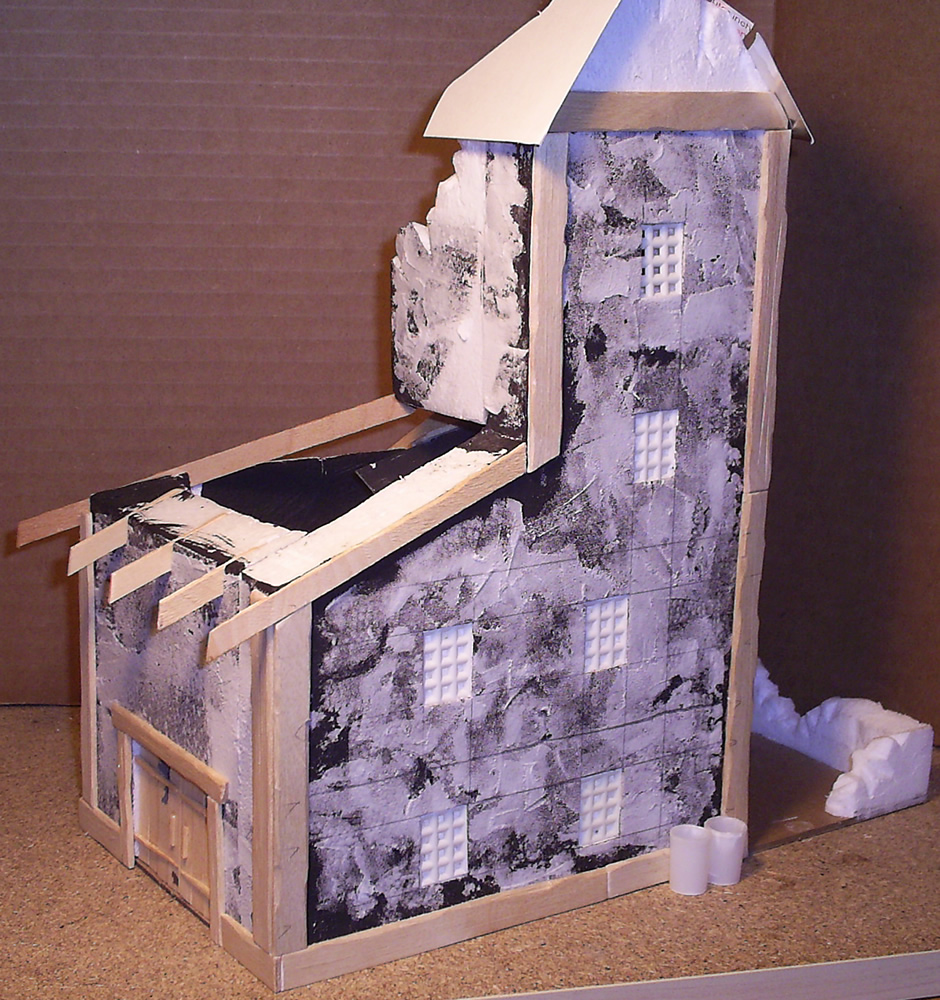
The construction of my Mordheim Dice tower is very close to done. I have created the Window Frames for all of the windows:
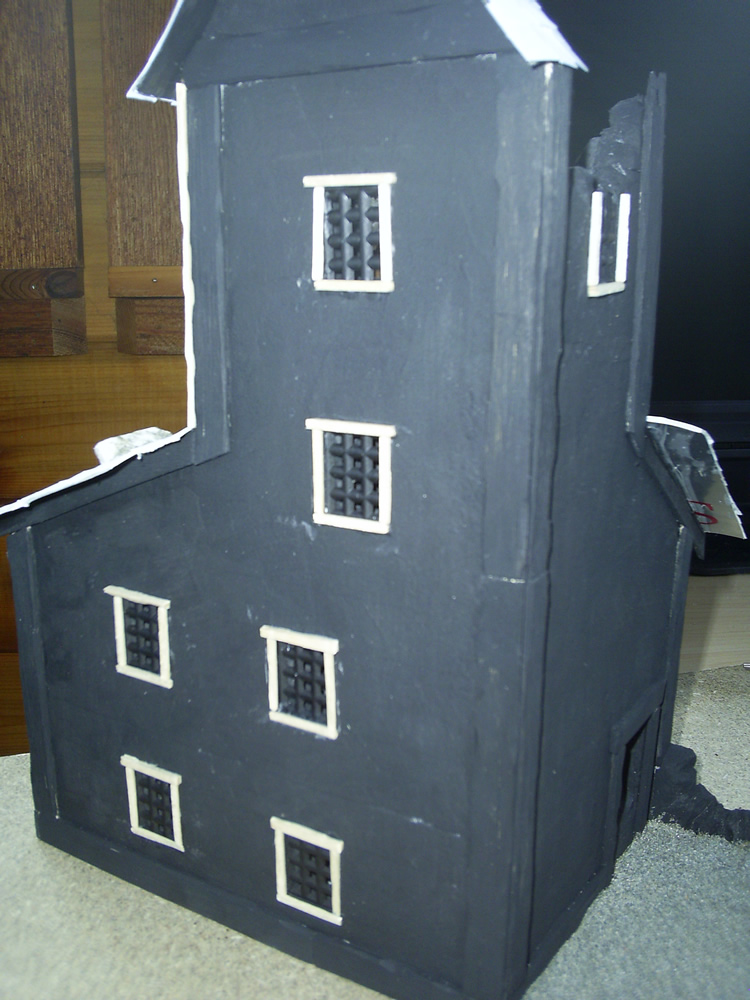
To create the thin sections of wood, I cut a ~2cm section of Popsicle stick, and then cut it lengthwise with a razor blade. I tried to cut it as thin as possible. This allowed me to create endless pieces of wood that were all the exact same width when I turned them sideways.
My next project was to create the sign that will hang over the front door:
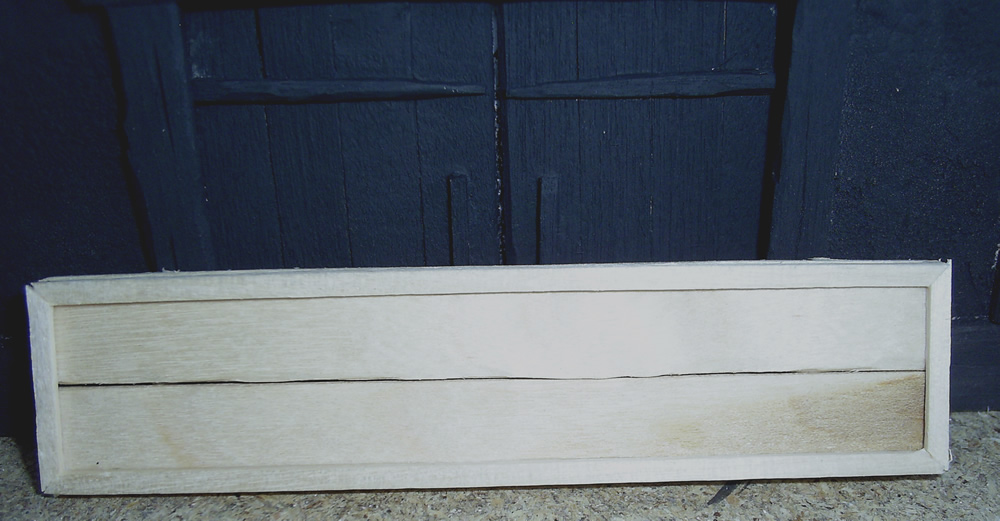
I’m looking at calling this place “Ed’s Lodging” or “Motel 3” or something having to do with Lodging. Let me know if you have any ideas. (You got like 24 hours to tell me;))
More very very soon,
-Ashton Sanders
Mar 18
Mordheim Dice tower Update
This is a quick update because I only have done a couple very simple things:
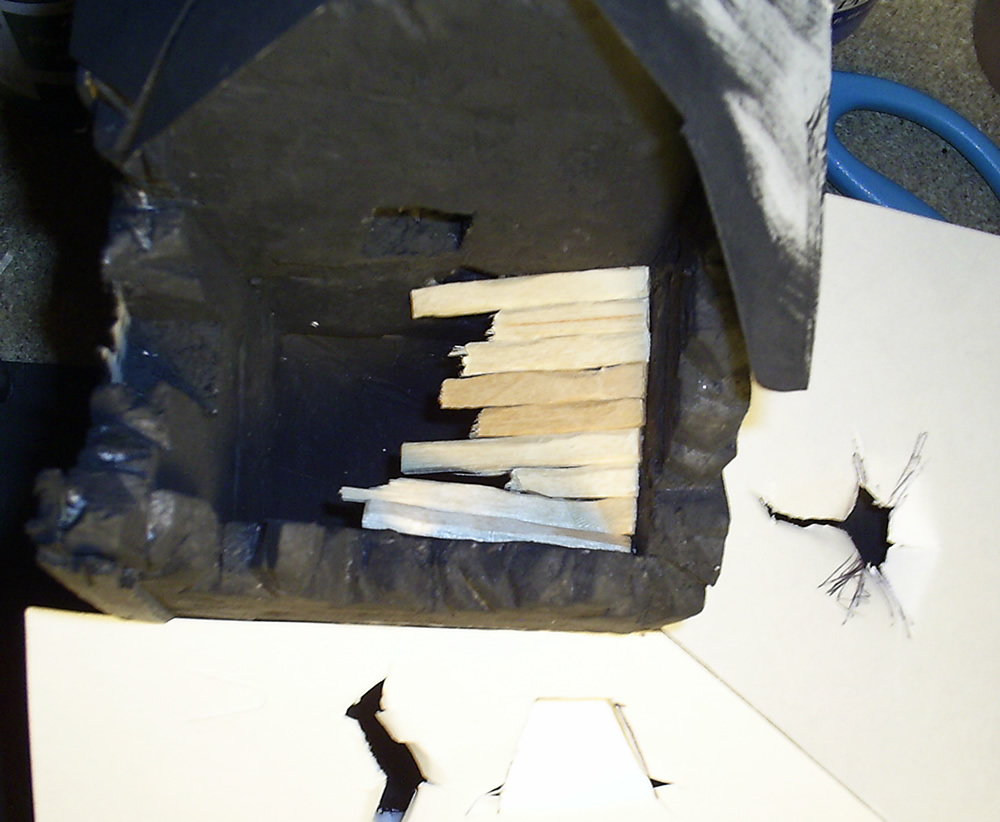
Added broken wooden planks to the first “ramp” at the top of the tower:
And I glued down the roof, and cut the starting injuries:
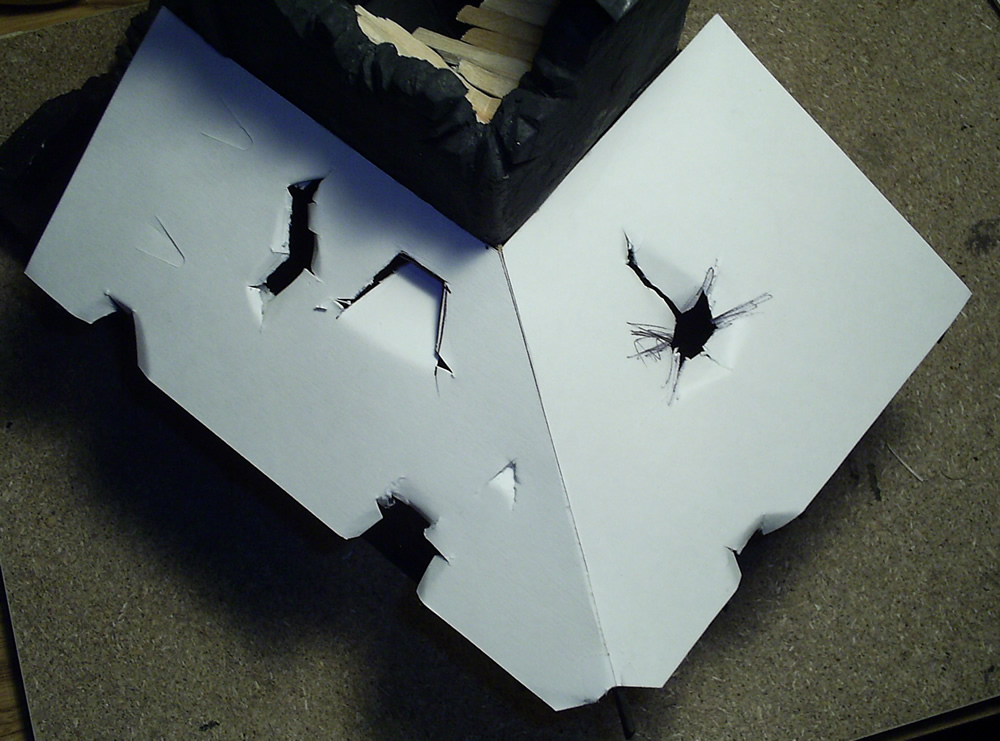
My next step will be to add the roof tiles, and then rubble to the roof. I hope to add enough rubble to the roof to allow models to safely stand on top of it.
I’m building this dice tower for a Terragenesis Competition which is ending in 12 days! I better hop to it, and finish up this roof pretty soon.
More to come soon,
Ashton Sanders
Mar 12
Dice Tower Windows
I’ve added 6 more windows to the other side of my Mordheim Dice Tower Building! The window on the very top of the tower is cut all the way through the wall, so you can see through it.
I haven’t glued anything into place yet, I want to paint black behind the gratings before I totally secure them to the window and add a frame.
You can see the lines where I measured this time. I am using a smudge over 5cm for each story, and the window is a little up from being right in the middle of the story.
You can also see a couple trash cans in this picture. I’ve been experimenting with them, and I should have a tutorial on them soon.
Enjoy,
Ashton Sanders
Feb 29
Covering Foam Surface Tutorial
As promised, here’s a little tutorial of how I used Spackle to cover Styrofoam and packing foam surface.
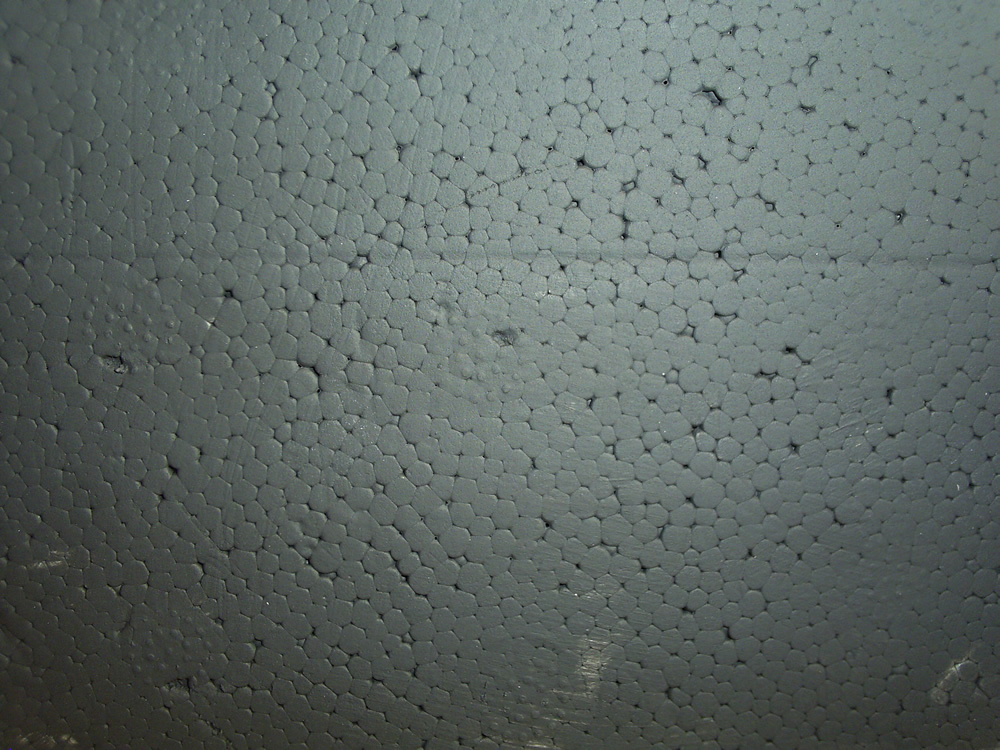
The Problem: If you have ever made anything out of the Styrofoam that comes packed around store-bought products (or seen it for that matter), you probably have noticed that the surface is definitely not smooth. Since it was made with little, round foam bubbles, the surface has lots of little bumps and gaps. If you are unfamiliar with this surface, you probably won’t need to read this tutorial. Here is a picture of Styrofoam with a base paint of black so you can see the surface:
Feb 28
Painting Styrofoam
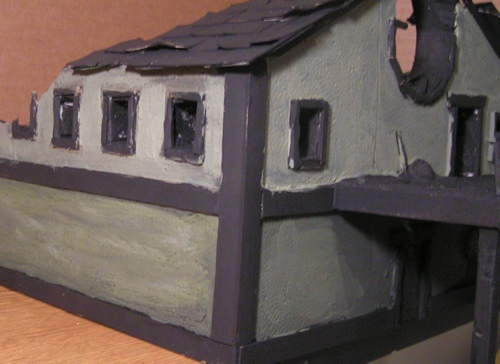
As you may have noticed, my dice tower (and most of my buildings so far) are constructed mostly of packing foam (Styrofoam). As you can see in this picture, the foam bubbles and small holes in Styrofoam is not really a desired look for model building, so I have gone on a quest to find the best way to hide the Styrofoam texture. Here’s a picture of my Dice Tower Wall after I painted the Styrofoam, and before I filled in the Styrofoam holes:
Click on any of these image for an even larger view.

If you put 3-5 coats of acrylic paint on Styrofoam, it will eventually cover up these holes. Another tactic I’ve used is to spread Elmer’s Glue or PVA Glue (White Glue) over the surface of your building. Or you can mix in the previously mentioned white glue into the paint before painting the Styrofoam or foam. All of these create a very smooth and flat surface on your foam, which is nice but not realistic.
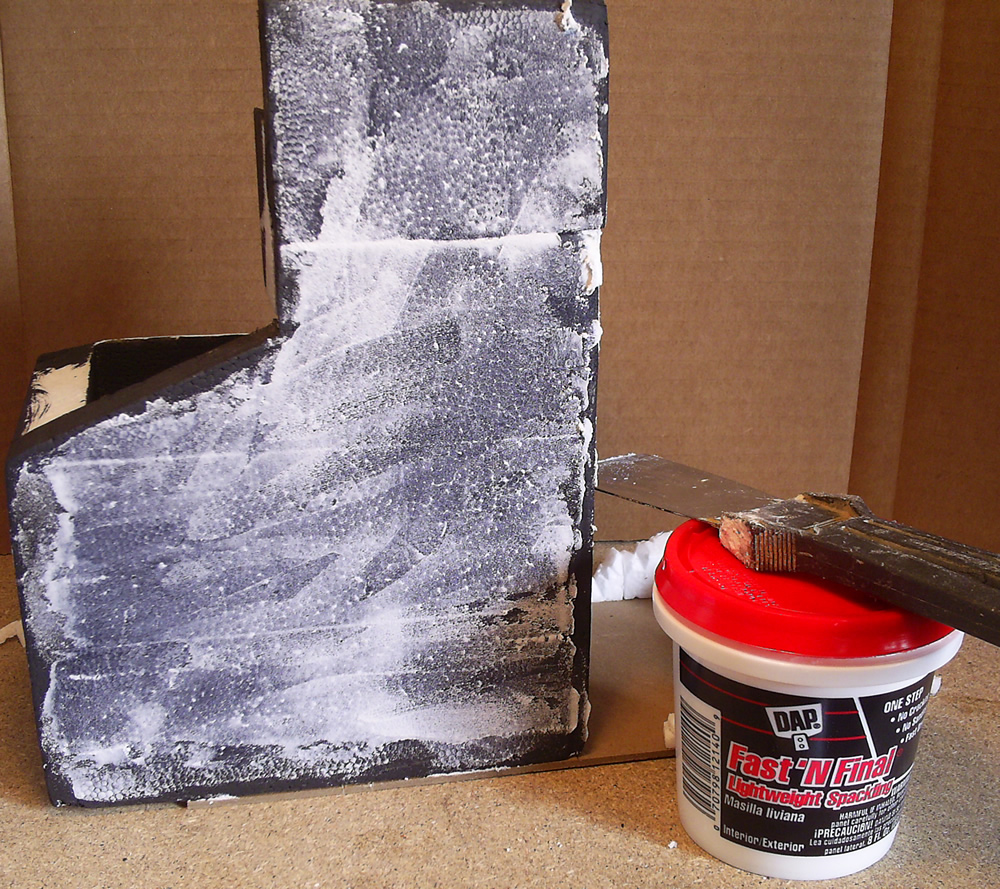
I happened to have a small tub of “light-weight” Spackle hanging out in my closet, so I spread it over the surface of my building. In this next picture you can see how the Spackle automatically filled in the Foam holes, surrounded the Styrofoam bubbles and filled in the cracks. I accidentally painted this building black before putting on the Spackle, but in the end has helped a lot for these pictures.
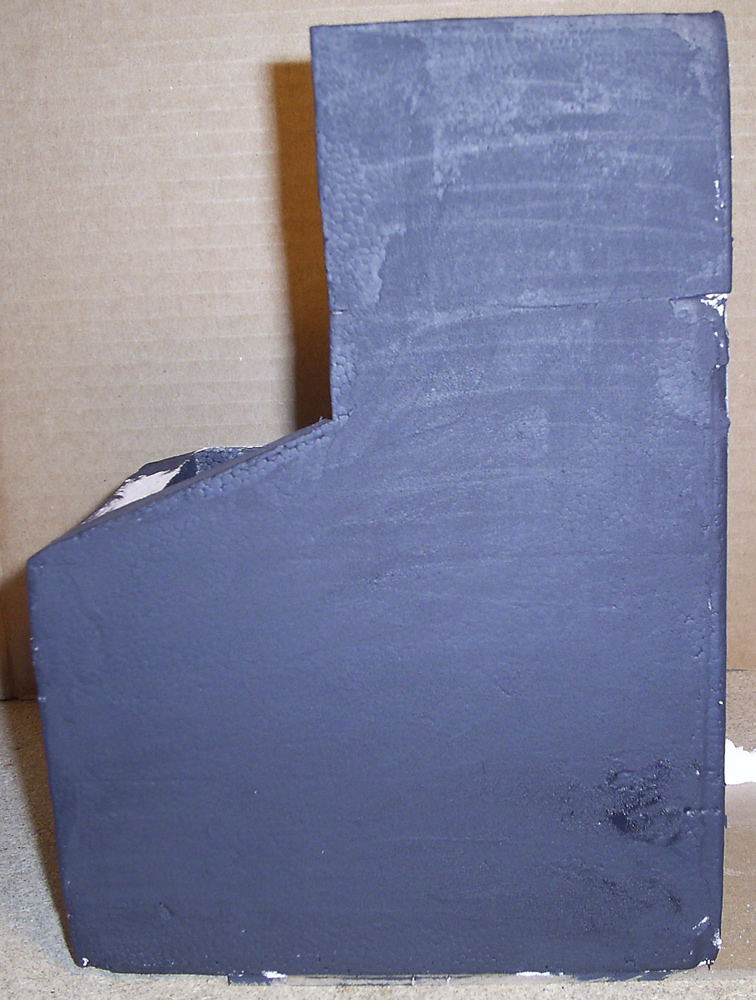
This next picture shows the thin layer of Spackle I spread on this foam dice tower building. I tried my best to thin out the Spackle and create a nice, smooth surface over the foam. In retrospect, I would definitely recommend a thicker layer of Spackle. The extra Spackle will add more texture to your building and cover the foam better.
As you can see in this final picture, the layer of Spackle is too thin and shows some of the foam bumbles. I’ll be adding another layer of Spackle for texture and to cover the Styrofoam bubbles.
I’ll be putting together a Tutorial for Covering Styrofoam and Foam in the next couple days!
-Ashton
Feb 14
Next Competition
I know I really shouldn’t enter another Terrain competition, but I couldn’t help myself.
Because I won the last competition, I got to choose the rules for this one. I decided to do a “Dual Function” competition. Where every entry had to be a terrain piece that doubled as something else (like a jewelry box or book end).
And I’ve been wanting to do a dice tower building for a long time (almost 3 weeks…), and this is a perfect chance to do it. So here are my first sketches and thoughts for my Mordheim Building that doubles as a dice tower:
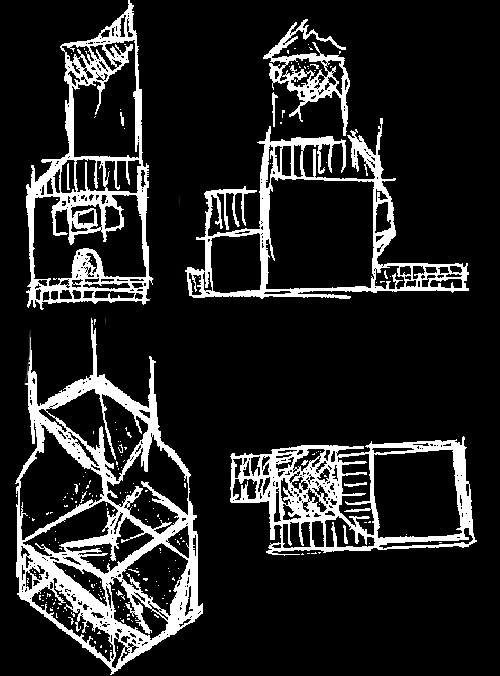
More to come as this develops =)
-Ashton
Jan 29
Mordheim Collapsed Tower Completed!
Hi All! I have officially completed my Mordheim Collapsed Tower! Here are the pics:
This is a competition entry at Terragenesis.
Enjoy the pics:
Jan 27
Mordheim Tower – Sneak Peak
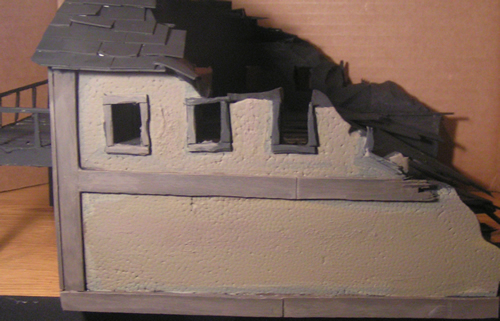
I’m getting very close to completing my Mordheim tower. All I have left is some final details for my collapsed tower, and I thought I’d give you a little sneak peak of the color I chose to use on the walls and what the wood in the rubble looks like.
Here’s a picture:

You can see an arrow that is sticking out of the side of the building in the shadows (top right) as well.
In this picture you can see the two different “kinds” of wood in the rubble. The floors of the tower were made with a nice light pine wood, while the wood on the outside of the building was mostly aged/weathered oak (the darker color).
More to come soon,
Enjoy,
Jan 9
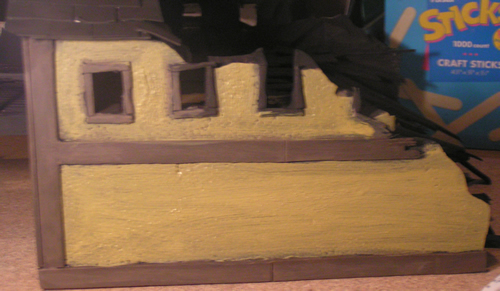
Mordheim Color Testing
I now have two Mordheim terrain buildings that I will be painting soon. I wasn’t too excited about the wall color on my first Mordheim Building, so I thought I’d do some testing first. Here are some sample paint jobs I’ve done on my Destroyed Mordheim Church. I’ve already shown these pictures to a number of people, and so far, Green has gotten the most votes. Let me know what you think:
Green:
Brown:
Yellow:
Thanks in Advance,
Ashton
Jan 6
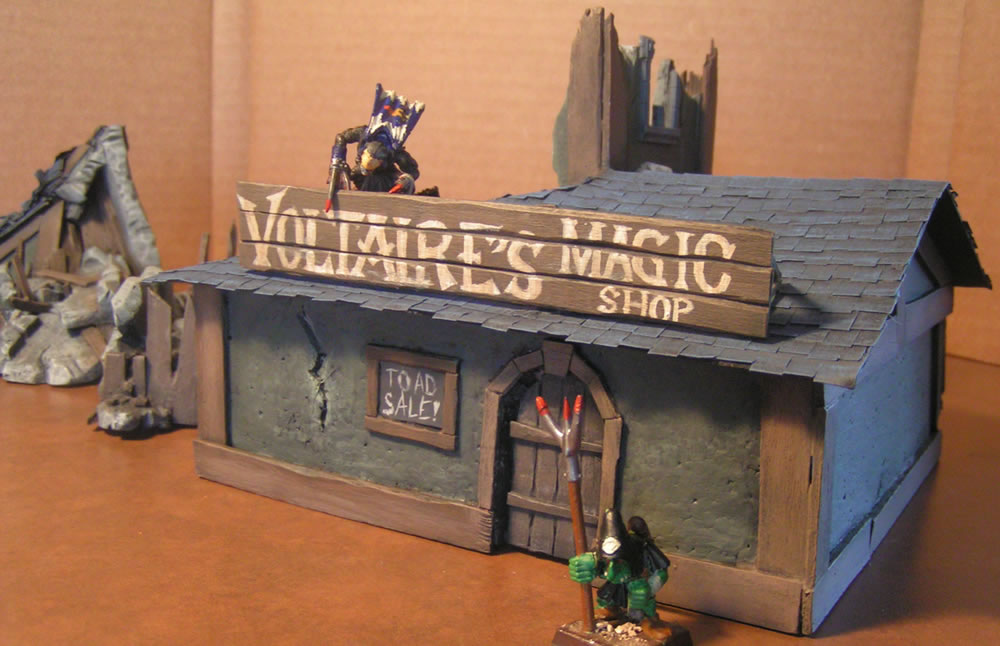
Voltaire’s Magic Shop Sign
I have finally decided on what my collapsed tower used to house:
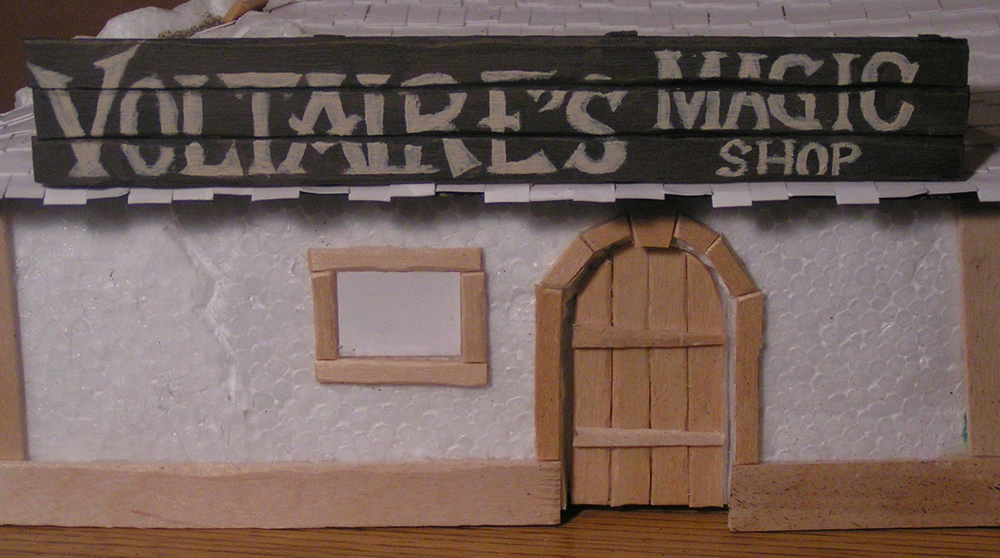
Many people don’t know that before Voltaire became famous as an author, he owned a very profitable chain of Magic Shops in Mordheim. Until, of course, the comet killed all within the city. Fortunately for Voltaire (and literature), he was spending the new year with his family in a neighboring village when Mordheim was destroyed. This tower used to be Voltaire’s research tower where he developed many of his magic potions. This is also where he gained his first love of writing.
=]
Ashton Sanders
