Feb 29
Covering Foam Surface Tutorial
As promised, here’s a little tutorial of how I used Spackle to cover Styrofoam and packing foam surface.
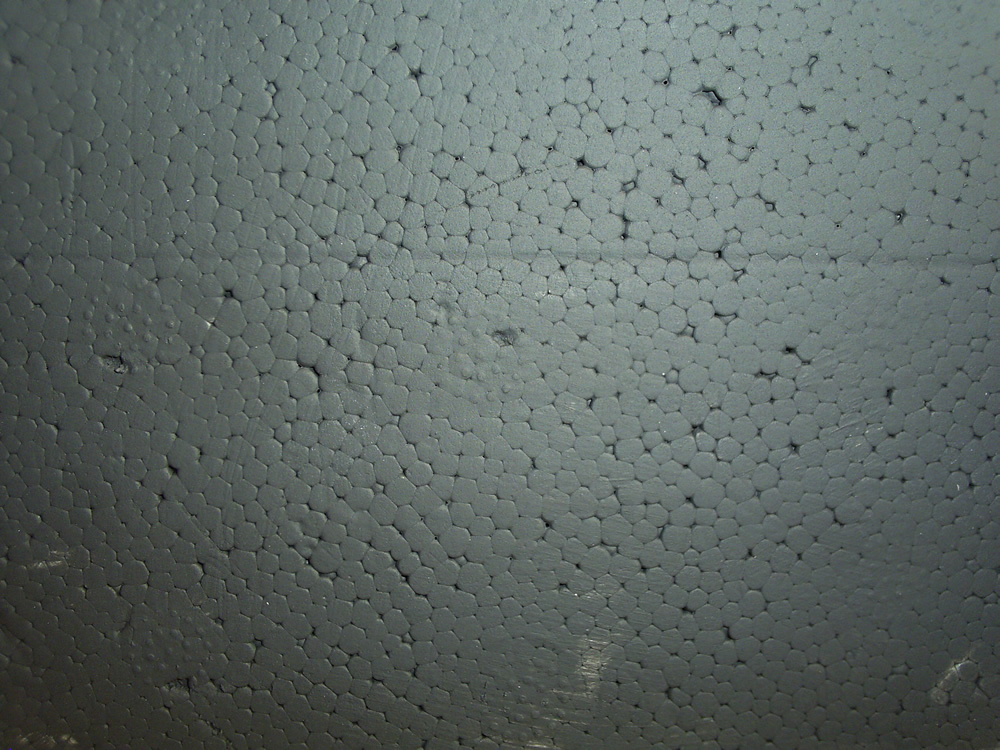
The Problem: If you have ever made anything out of the Styrofoam that comes packed around store-bought products (or seen it for that matter), you probably have noticed that the surface is definitely not smooth. Since it was made with little, round foam bubbles, the surface has lots of little bumps and gaps. If you are unfamiliar with this surface, you probably won’t need to read this tutorial. Here is a picture of Styrofoam with a base paint of black so you can see the surface:
Feb 28
Painting Styrofoam
As you may have noticed, my dice tower (and most of my buildings so far) are constructed mostly of packing foam (Styrofoam). As you can see in this picture, the foam bubbles and small holes in Styrofoam is not really a desired look for model building, so I have gone on a quest to find the best way to hide the Styrofoam texture. Here’s a picture of my Dice Tower Wall after I painted the Styrofoam, and before I filled in the Styrofoam holes:
Click on any of these image for an even larger view.

If you put 3-5 coats of acrylic paint on Styrofoam, it will eventually cover up these holes. Another tactic I’ve used is to spread Elmer’s Glue or PVA Glue (White Glue) over the surface of your building. Or you can mix in the previously mentioned white glue into the paint before painting the Styrofoam or foam. All of these create a very smooth and flat surface on your foam, which is nice but not realistic.
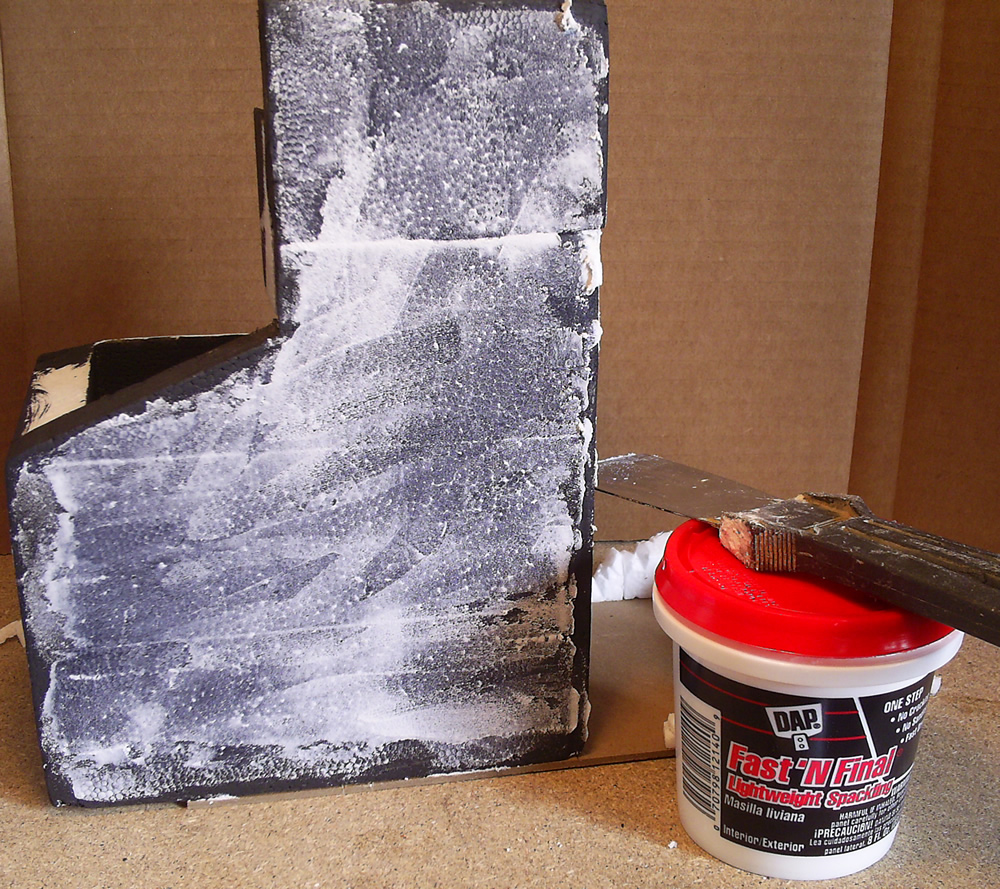
I happened to have a small tub of “light-weight” Spackle hanging out in my closet, so I spread it over the surface of my building. In this next picture you can see how the Spackle automatically filled in the Foam holes, surrounded the Styrofoam bubbles and filled in the cracks. I accidentally painted this building black before putting on the Spackle, but in the end has helped a lot for these pictures.
This next picture shows the thin layer of Spackle I spread on this foam dice tower building. I tried my best to thin out the Spackle and create a nice, smooth surface over the foam. In retrospect, I would definitely recommend a thicker layer of Spackle. The extra Spackle will add more texture to your building and cover the foam better.
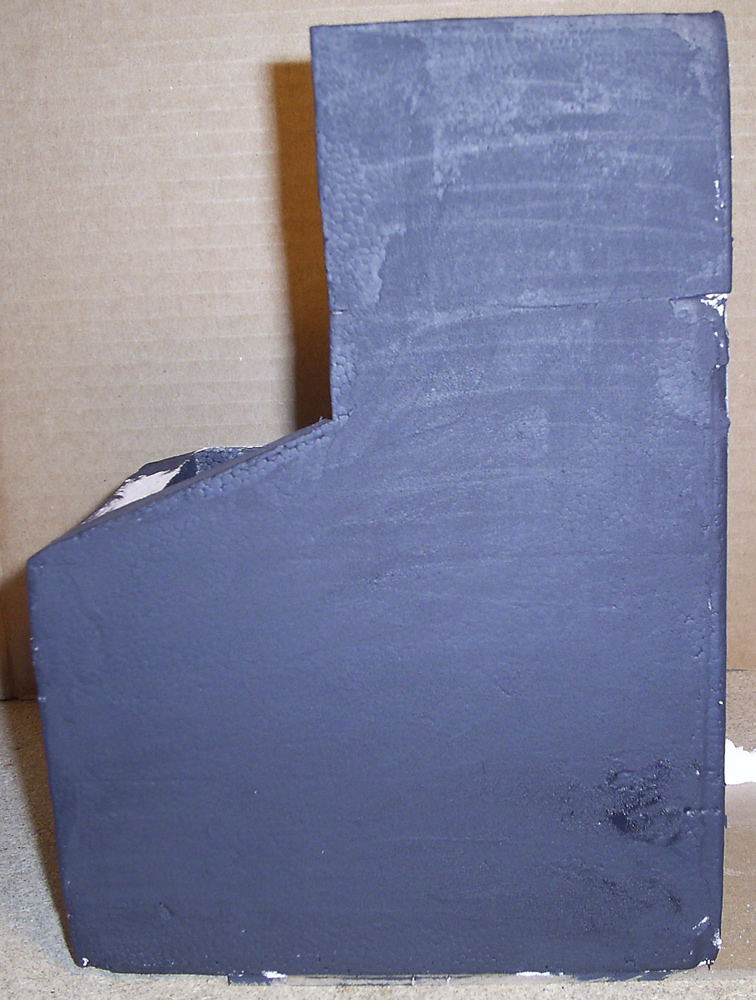
As you can see in this final picture, the layer of Spackle is too thin and shows some of the foam bumbles. I’ll be adding another layer of Spackle for texture and to cover the Styrofoam bubbles.
I’ll be putting together a Tutorial for Covering Styrofoam and Foam in the next couple days!
-Ashton
Dec 6
Adding Dirt/Grime to Mordheim Church
After my last post about my Mordheim Church, i still had a couple incomplete projects to work on before I can actually start painting it. I have to add some roof tiles, and some dirt and grime. It’s not like someone is sweeping the floor every other day, and since their is no roof, the wind and rain filled the second story with dirt and grime; not to mention a large rock crashed into it.
If someone was to walk through the church, from inside to out, there would be a certain path of least resistance that is probably most taken. I tried to keep that section pretty clear, and worn down, while the rest of the floor is covered with dirt. To add dirt and grime to this Mordheim Church, I tried two different methods:
Applying Dirt Method 1: First, I put some glue direction on the floor, and spread it around the room. I filled in the corners and edges with lots of glue, and spread it around with my fingers. 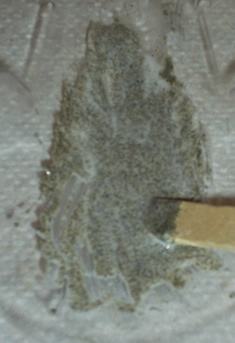 I dropped some wood chips and small wood shavings over the glue. Then I took some fine beach sand I collected at Camp Cherry Valley, and dropped it on the floor. I shook the building a little bit to get the dirt to stick to all of the glue. I needed to do this a couple times to cover all of the glue with sand. After that, I went on to…
Applying Dirt Method 2: Second, I mixed some sand, glue and water together to make a pretty fluid mix of sticky sand. You don’t want it to be too runny or too thick. Then I took a Popsicle stick to spread it around the floor of the building and into the cracks. I ran my finger over the pathway to keep the dirt in the cracks and off the worn path. When I got to the end of my second batch of sand/glue mixture, I used my fingers to rub the leftovers on the walls to add some character.
Here are some pictures of the completed product:

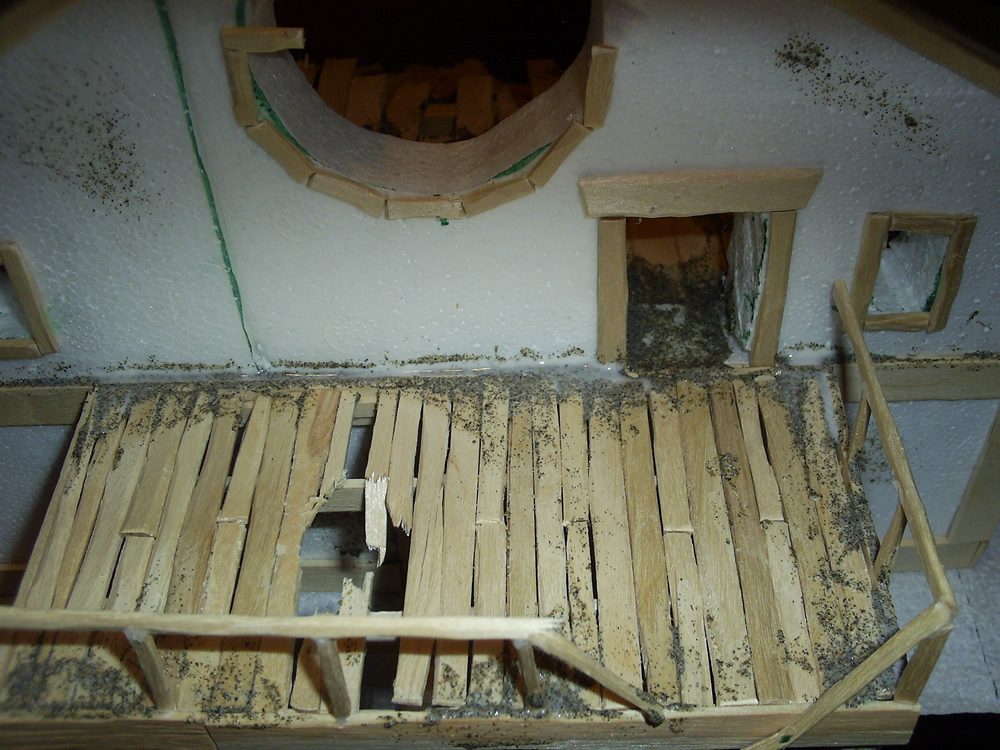
Here’s a close up of one of the corners with dirt and wood:

Next step will be adding the roof tiles. I did forget that I wanted to have some roof tiles in the dirt and grime. Hopefully I’ll be able to add it after the fact.
-Ashton Sanders
