Oct 27
Removing Paint from Plastic Models
My brother and I got into Mordheim when it came out in 1999. As teenagers, we had very little affinity for a good paint job. We just wanted to get our minis on the table and kick the trash out of eachother. We had a blast, and Mordheim became a very fond memory for the both of us (and friends, too).
But because of how little we cared about our paint job, I know cringed whenever I look at the paint jobs on my old minis. Thanks to Tom, and other painting sources across the internet, I’ve slowly been learning how to paint well.
So now that I’m ready to paint some awesome Mordheim Miniatures, I have decided to remove the paint from a bunch of my plastic models and metal models. I have already tried Tom‘s Brake fluid, and it works fine except for how toxic it is.
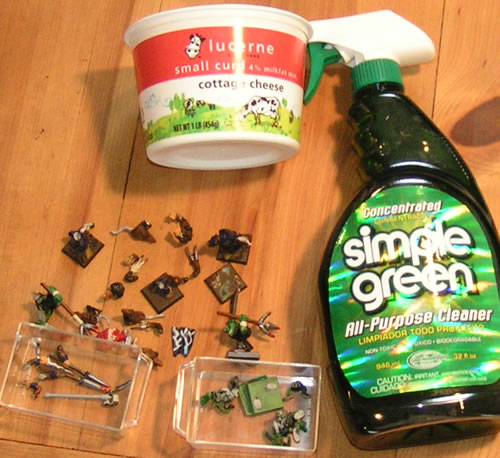
I mentioned earlier how I found a great article on removing paint with simple green. So I grabbed a pile of my plastic and metal models with bad paint jobs, one bottle of Simple Green and 1 (clean) cottage cheese container.
Oct 3
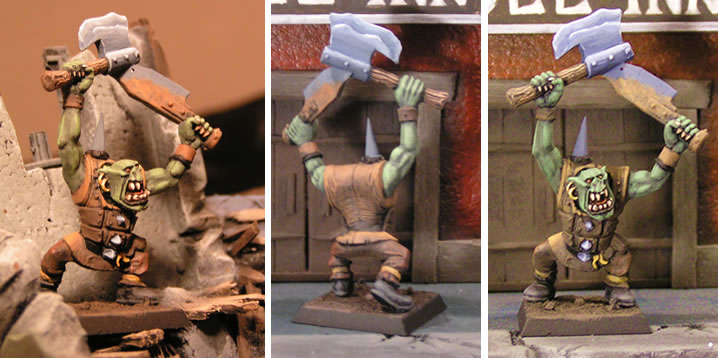
Mordheim Orc Big Un Painted
Tom’s Boring Mordheim Forum had their first “Golden Tom” Painting Competition, which got me off my lazy ars and got me to paint another Mordheim Orc Big Un.
Jun 28
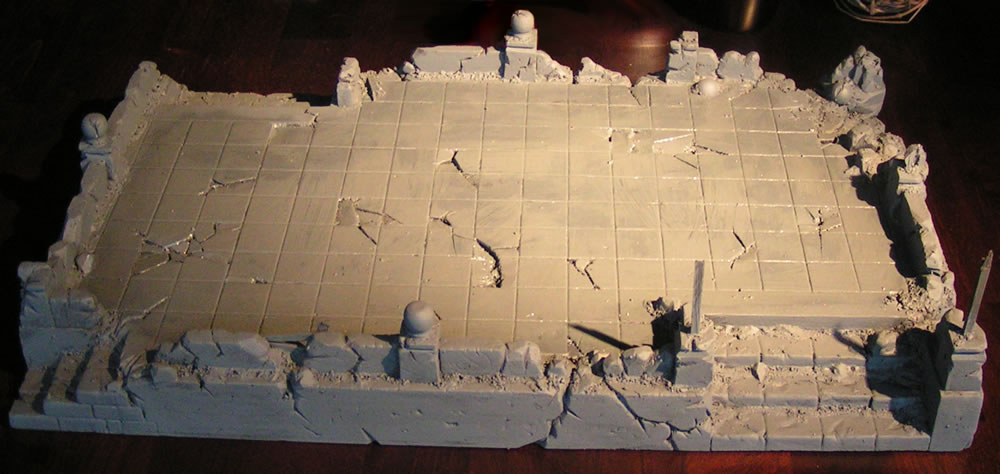
Mordheim Terrain Update
I’m getting close and closer to finishing, but I still only have two days to complete it! Here is the progress I’ve done so far:
I have finished detailing the Mordheim Terrain, and finished painting the whole thing black:
My plan is Read the Rest of the Post >
May 15
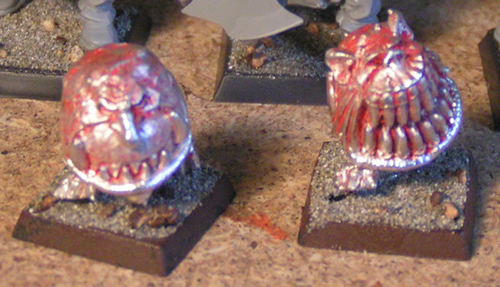
Painting Squigs
Now that I’ve removed the paint from my metal Squig yesterday, he needed some new paint today. Since I am going with an orange theme for my Mordheim Orc and Goblin Warband, my cave squigs are going to be orange.
First thing to check is to make sure there are no mold lines still on the model. (I never knew to check for these on metal models, so I started painting my first coat before I realized they were there) I took a razor blade and trimmed them back the best I could.
Apr 20
Painting Orcs – Almost Done
I’ve finally gotten around to painting my first two models since I grew up
Orc Warband Storyline:
I haven’t settled on a complete storyline for my Orc Warband yet, but these Orcs’ homeland has a odd, orange stone that when smashed into powder and rubbed on skin with water creates a great Orange Dye. This is why they have Orange warpaint all of themselves, kind of like Scottish Orcs with orange (instead of blue) woad… *stolen from Tom* I have yet to do the face painting, but I have decided that two orange stripes is this warbands signature.
I also wouldn’t normally take such up-close pictures, as it shows too many flaws ;}, but I’m still on a learning curve. =] Here’s a picture that isn’t too close:
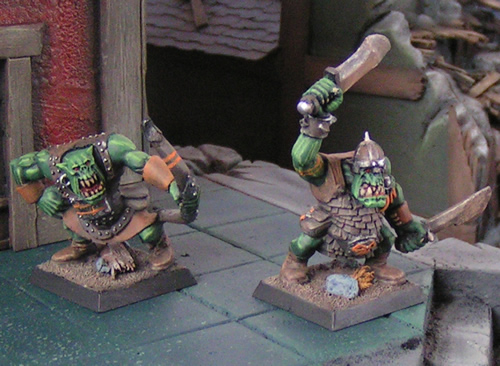
And without further ado, Here’s the close-ups: Read the Rest of the Post >
Apr 18
First Mordheim Models – painting
Here is the progress on my first models I have painted in a long time. The pictures describe it best, so I’m not going to type much for this post:
First pictures is a very dark beginning coat of Green and Brown. At this stage, if you took these models out of the bright light, they would still look pitch black.
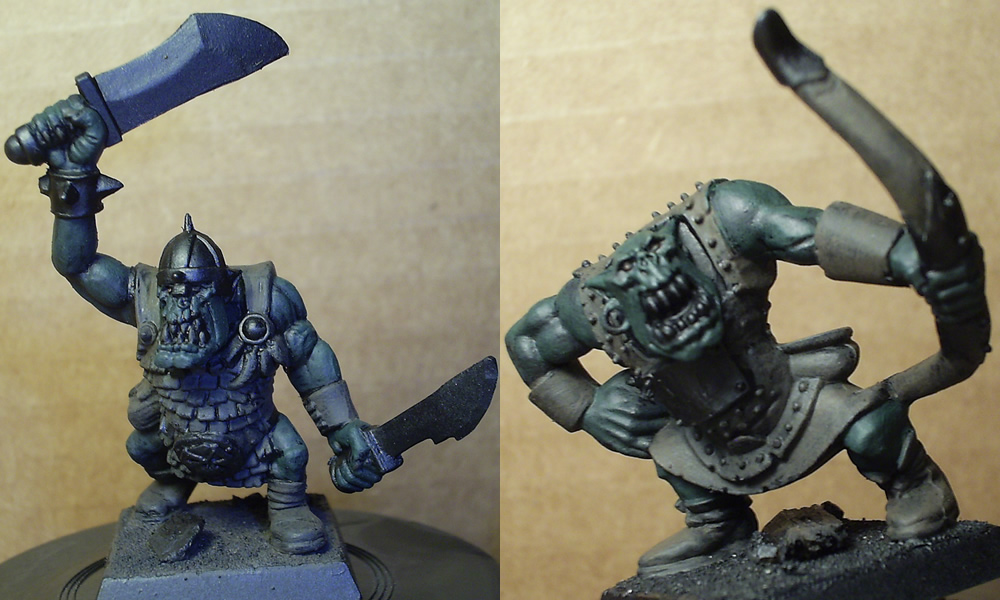
Then repetitive drybrushing of lighter and lighter colors. The teeth are extremely hard, which may be the result of cheap paint + cheap brushes:

Things left to do:
- Paint the Base (I probably should have done this before anything else.)
- Paint the metal (Sword, Bow tips, studs in the studded leather, etc.)
- Orange War painting
- Mouth and teeth
- Muscle Highlighting
I’m sure there’s more,
-Ashton Sanders
Apr 7
First Mordheim Models – Basing
I’ve done a lot of research on the Internet on basing, paint, modeling, etc. Here are some links to some great resources on these subjects:
- Tom’s Boring Mordheim Blog has lots of great tips and tricks for painting, as he is an amazing painter and artist.
- Games Workshop tutorial on Painting Models.
- Brushthralls’ Old Basing tutorial. (They have a new modeling tutorials here.)
- (I also got lots of ideas from Tom’s Boring Mordheim Forum and Witchhunter.net.)
My new Mordheim Warbands have officially been started.
Currently, Skaven is my favorite warband, so I decided to start the learning curve with some Orc Models I got from a Warhammer Box Set I got off of ebay. I have too many of each of these models, so if I end up destroying them, I’ll survive. This way I can perfect my basing/painting styles before starting into my Skaven warband.
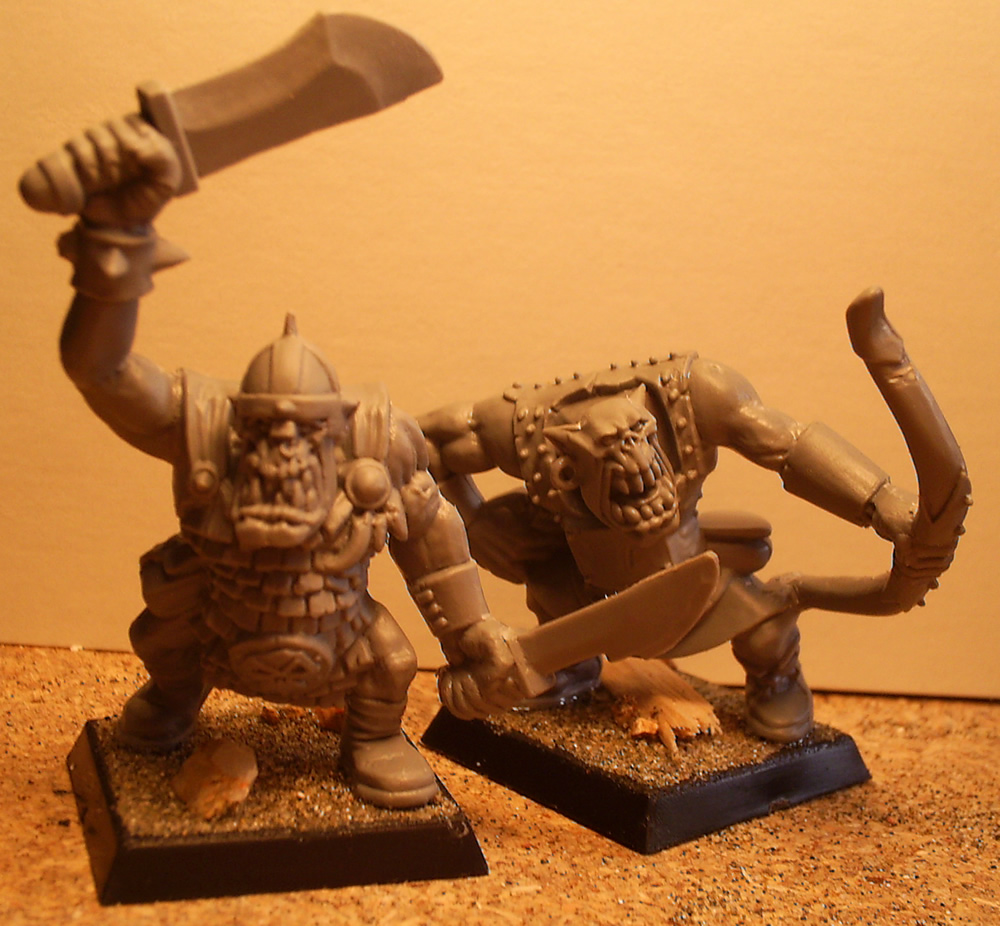
With that said, I based these models with a layer of PVA glue and a layer of sand. I added a rock or a wooden plank to each base before putting the layer of sand (so they look like they are stuck in the sand.
I removed the two models from their frames and used a razor blade to smooth out the seams. I glued on their heads and glued them to their bases with a helping of rubber cement (for plastic models).
Then, after a base coat of black paint:
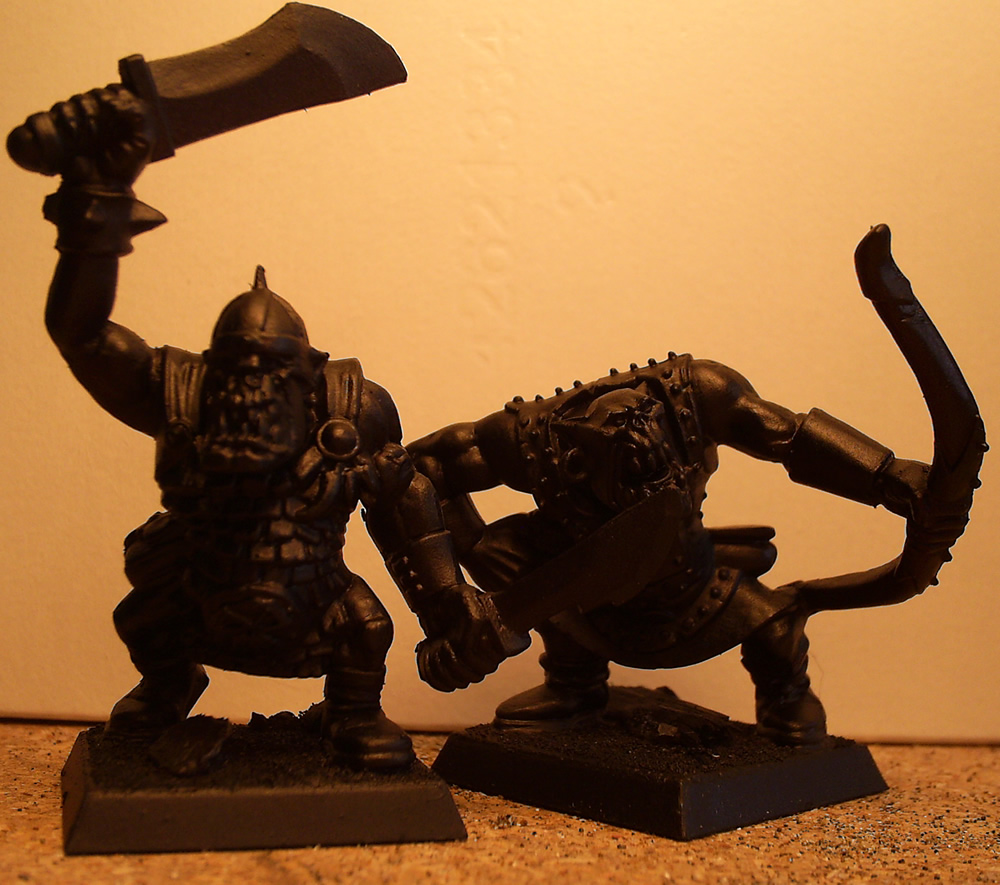
Now I need to come up with a good color scheme. I think I’m going to use Orange as a warpaint color.
-More to come,
–Ashton Sanders
Mar 30
Mordheim Dice Tower Painting Update
Since this competition is ending on the end of this month, I have to paint this entire building in two days. Thankfully it’s been a weekend, and I’ve been able to put aside some time for my Mordheim Dice Tower. I have run into only a few small problems, but none were conquerable. Here are the pictures of today’s progress:
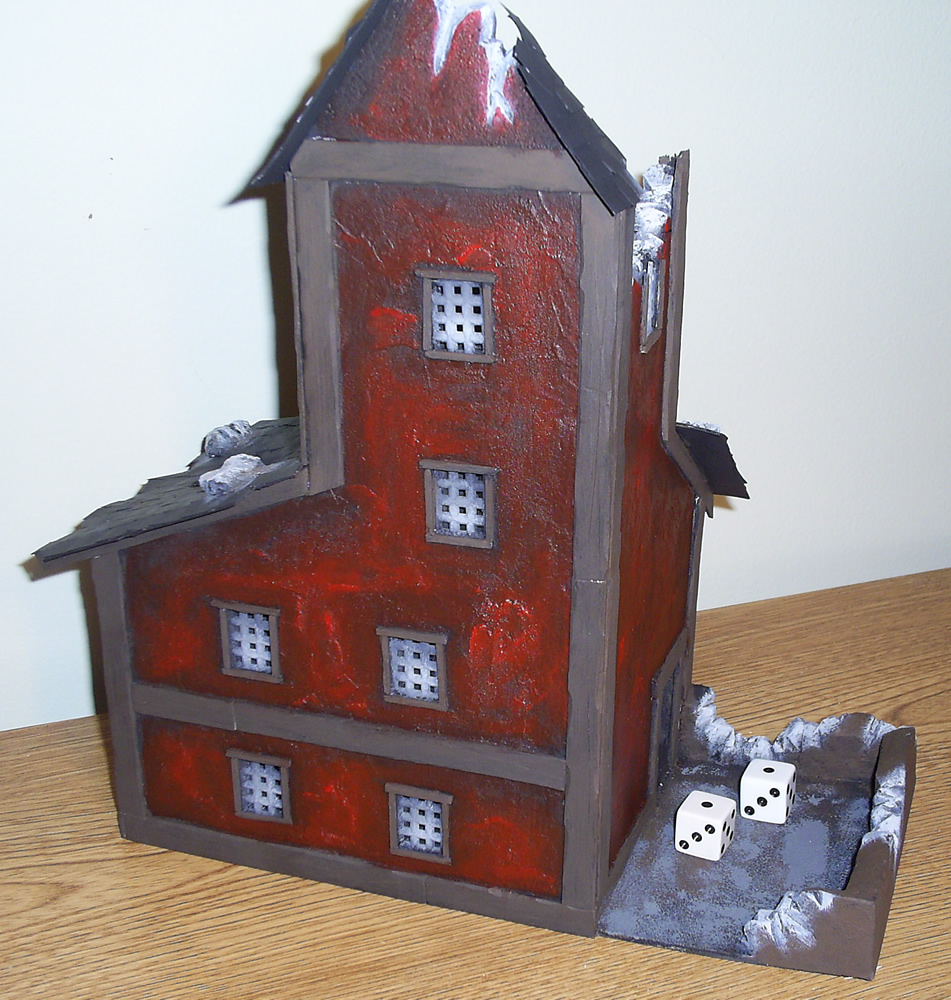
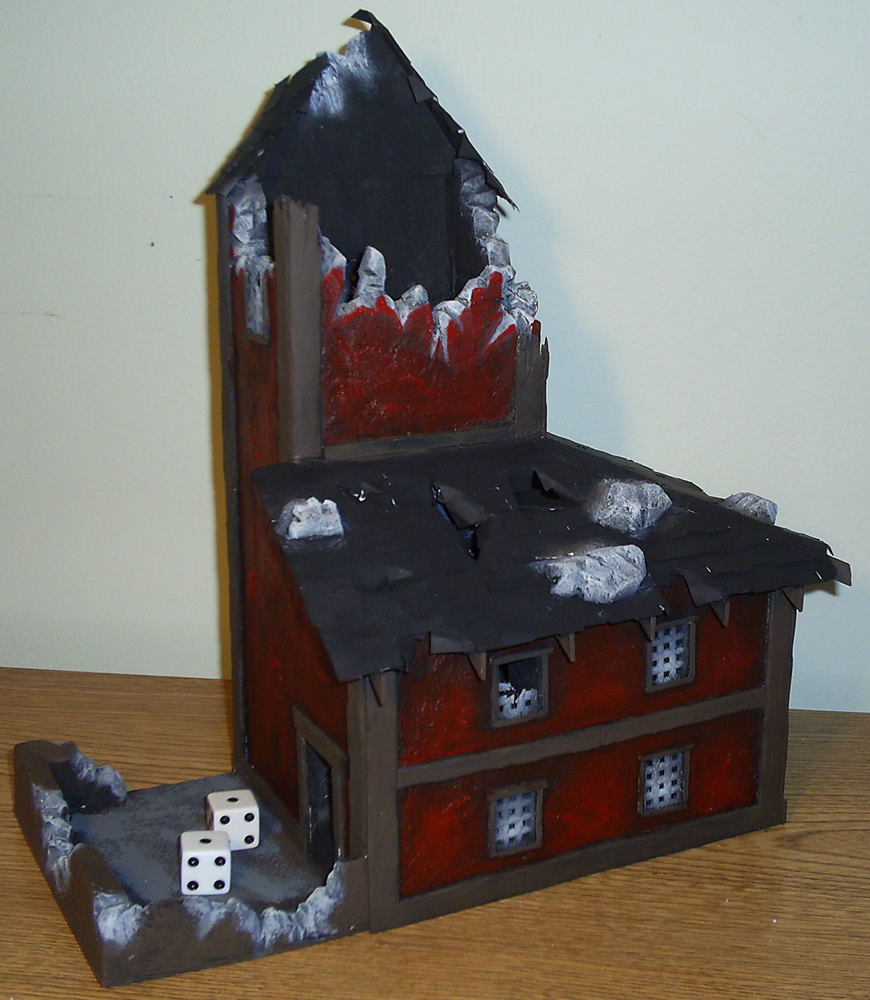
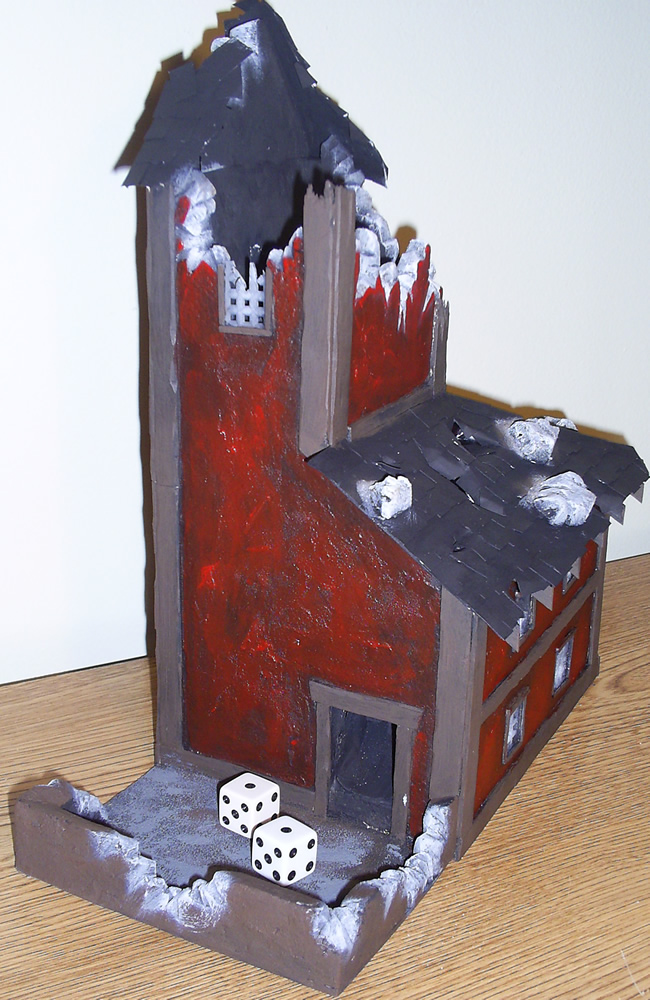
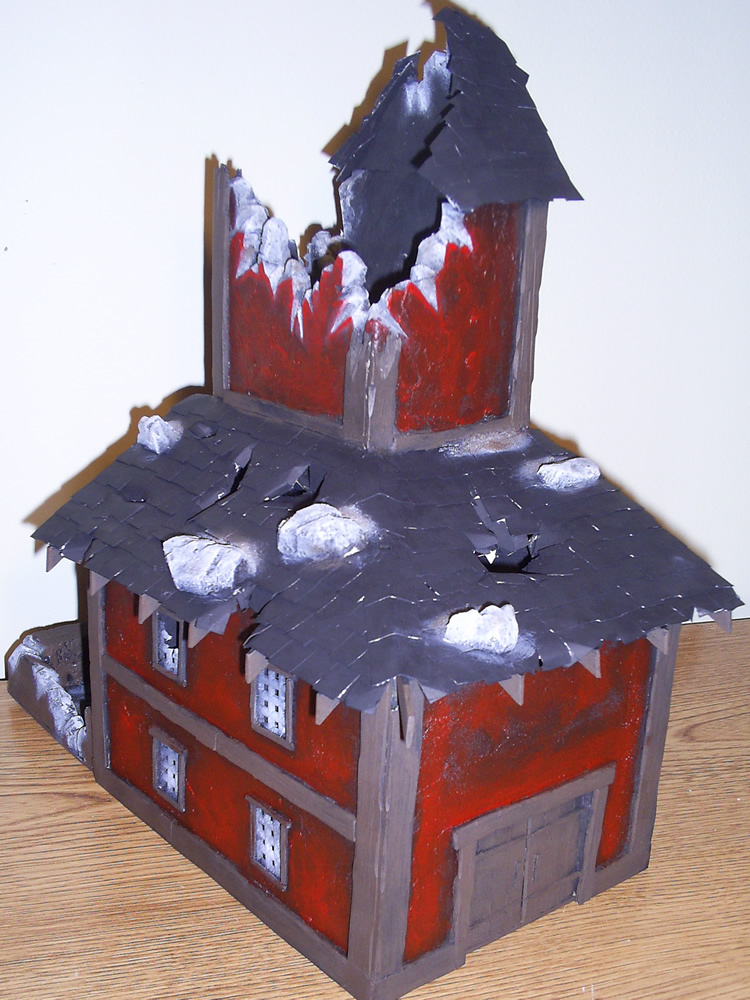
I painted all of the cement and debris with the same Dry Brushing Cement system I used on my last building (which I ended up using on the window bars as well). I chose to do a bright, barn red for the walls.
Final pictures are on the way,
–Ashton Sanders
Feb 29
Covering Foam Surface Tutorial
As promised, here’s a little tutorial of how I used Spackle to cover Styrofoam and packing foam surface.
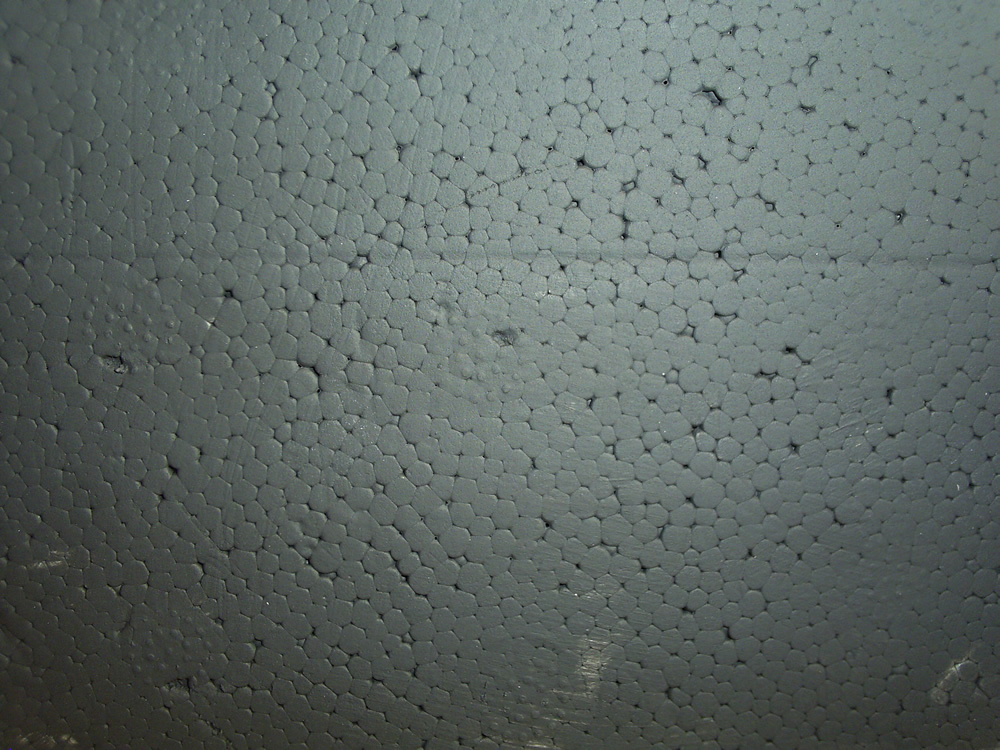
The Problem: If you have ever made anything out of the Styrofoam that comes packed around store-bought products (or seen it for that matter), you probably have noticed that the surface is definitely not smooth. Since it was made with little, round foam bubbles, the surface has lots of little bumps and gaps. If you are unfamiliar with this surface, you probably won’t need to read this tutorial. Here is a picture of Styrofoam with a base paint of black so you can see the surface:
Feb 28
Painting Styrofoam
As you may have noticed, my dice tower (and most of my buildings so far) are constructed mostly of packing foam (Styrofoam). As you can see in this picture, the foam bubbles and small holes in Styrofoam is not really a desired look for model building, so I have gone on a quest to find the best way to hide the Styrofoam texture. Here’s a picture of my Dice Tower Wall after I painted the Styrofoam, and before I filled in the Styrofoam holes:
Click on any of these image for an even larger view.

If you put 3-5 coats of acrylic paint on Styrofoam, it will eventually cover up these holes. Another tactic I’ve used is to spread Elmer’s Glue or PVA Glue (White Glue) over the surface of your building. Or you can mix in the previously mentioned white glue into the paint before painting the Styrofoam or foam. All of these create a very smooth and flat surface on your foam, which is nice but not realistic.
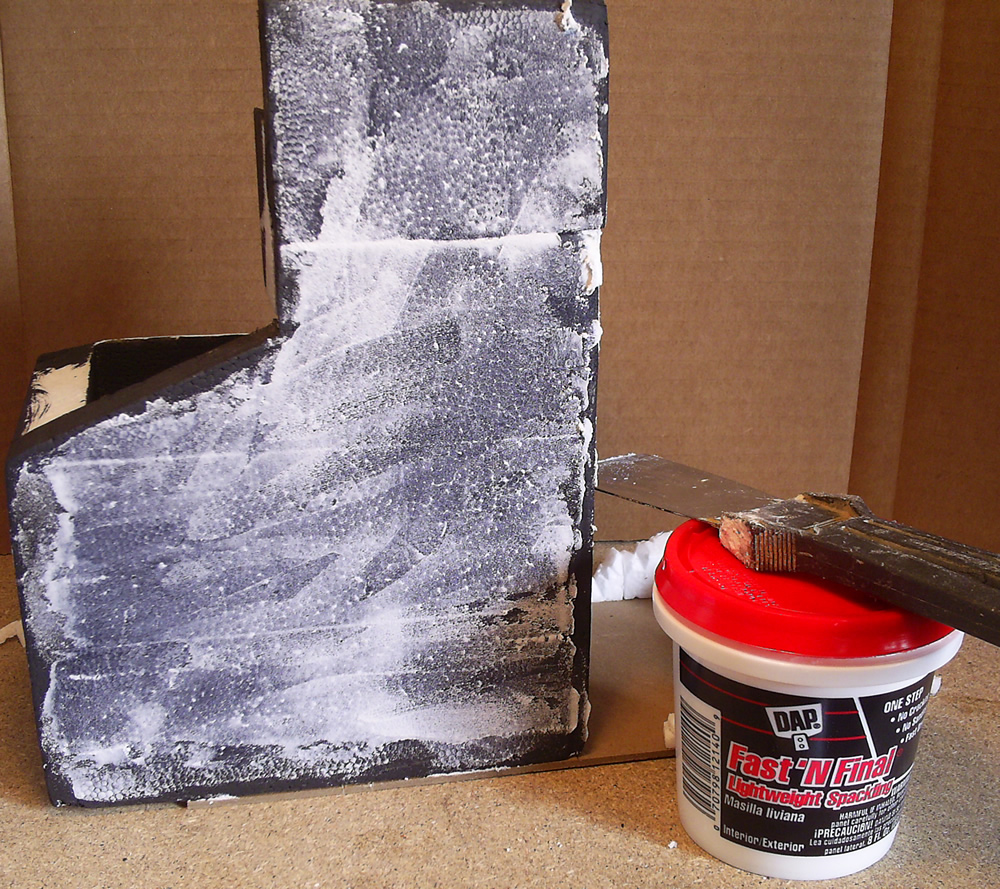
I happened to have a small tub of “light-weight” Spackle hanging out in my closet, so I spread it over the surface of my building. In this next picture you can see how the Spackle automatically filled in the Foam holes, surrounded the Styrofoam bubbles and filled in the cracks. I accidentally painted this building black before putting on the Spackle, but in the end has helped a lot for these pictures.
This next picture shows the thin layer of Spackle I spread on this foam dice tower building. I tried my best to thin out the Spackle and create a nice, smooth surface over the foam. In retrospect, I would definitely recommend a thicker layer of Spackle. The extra Spackle will add more texture to your building and cover the foam better.
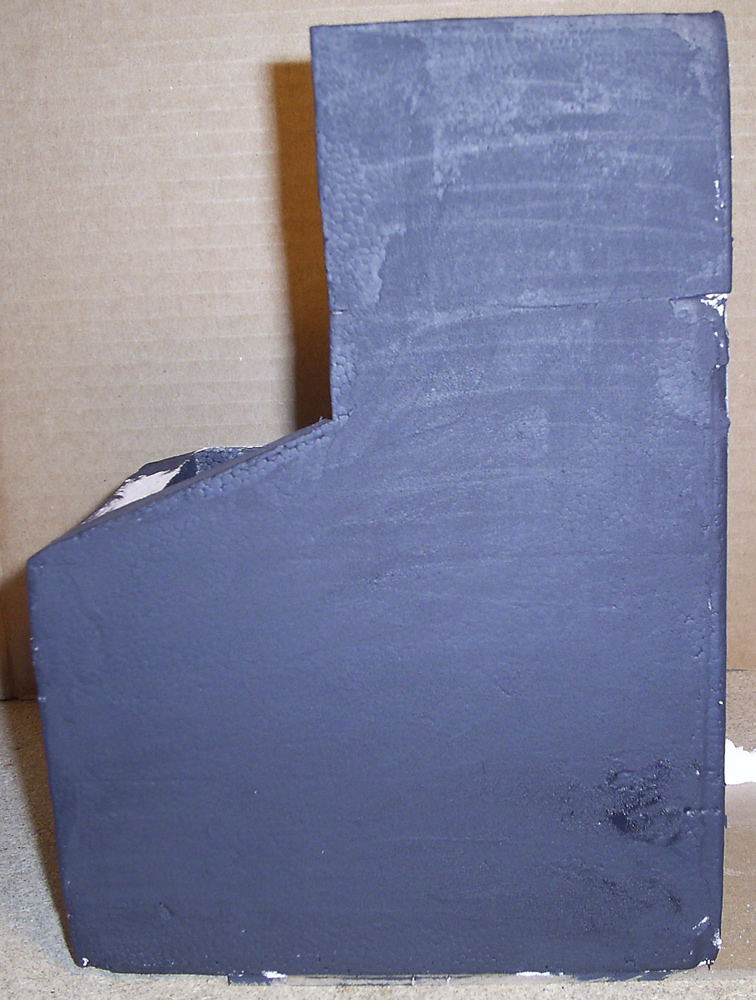
As you can see in this final picture, the layer of Spackle is too thin and shows some of the foam bumbles. I’ll be adding another layer of Spackle for texture and to cover the Styrofoam bubbles.
I’ll be putting together a Tutorial for Covering Styrofoam and Foam in the next couple days!
-Ashton
