Mar 28
Mordheim Rubble on Tiled Roof
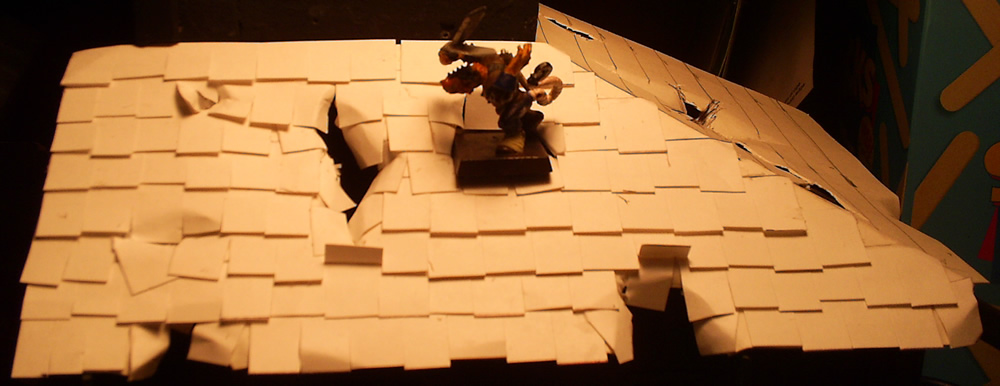
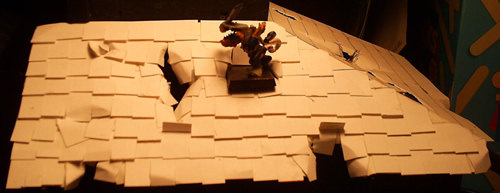
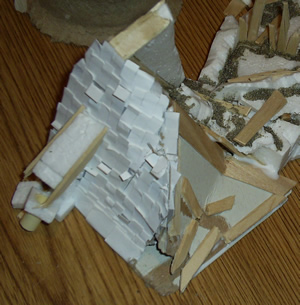
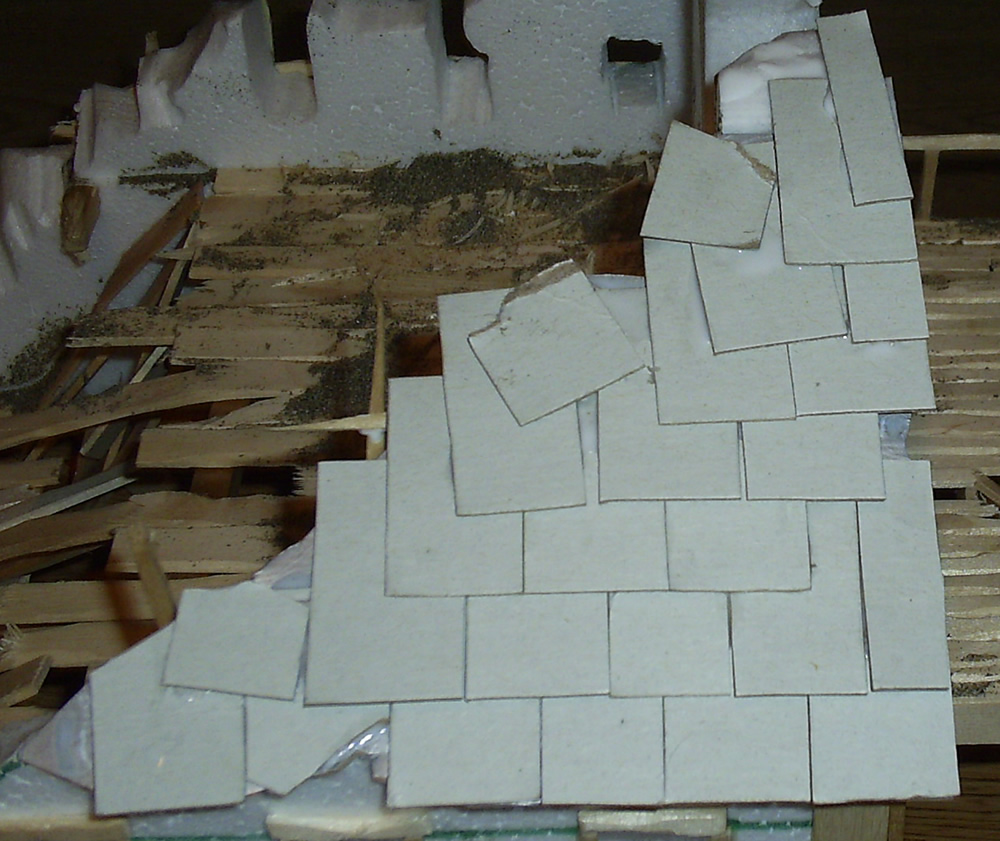
I have added some fallen debris to the Mordheim roof. The idea is that when the comet crashed into the city, either the quaking earth or a shard of the comet caused the top section of the tower to collapse. Some of the rubble broke holes in the roof below, while some of the smaller pieces ended up staying on the roof. The rubble also doubles as places for models to sand on.
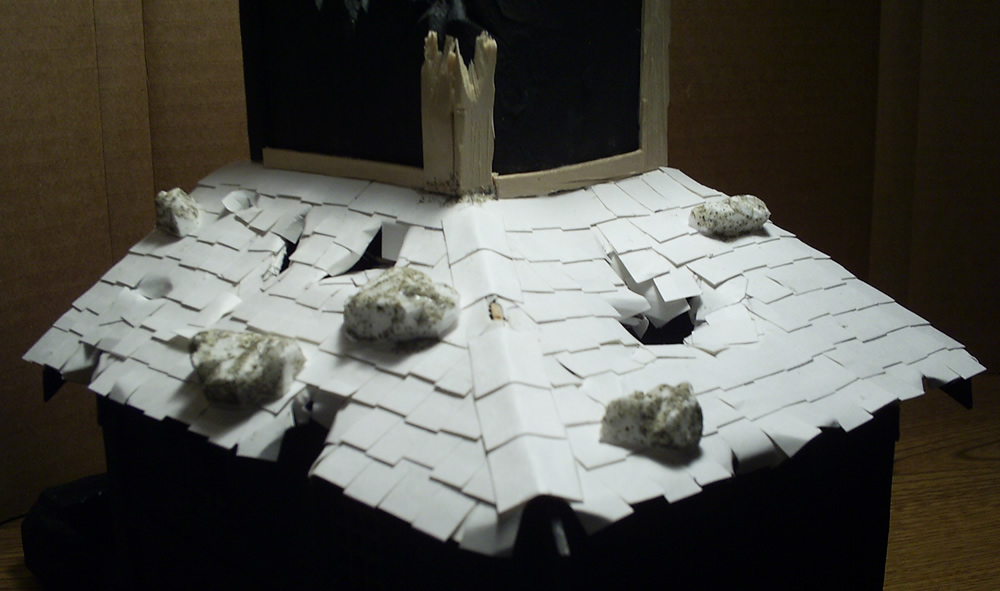
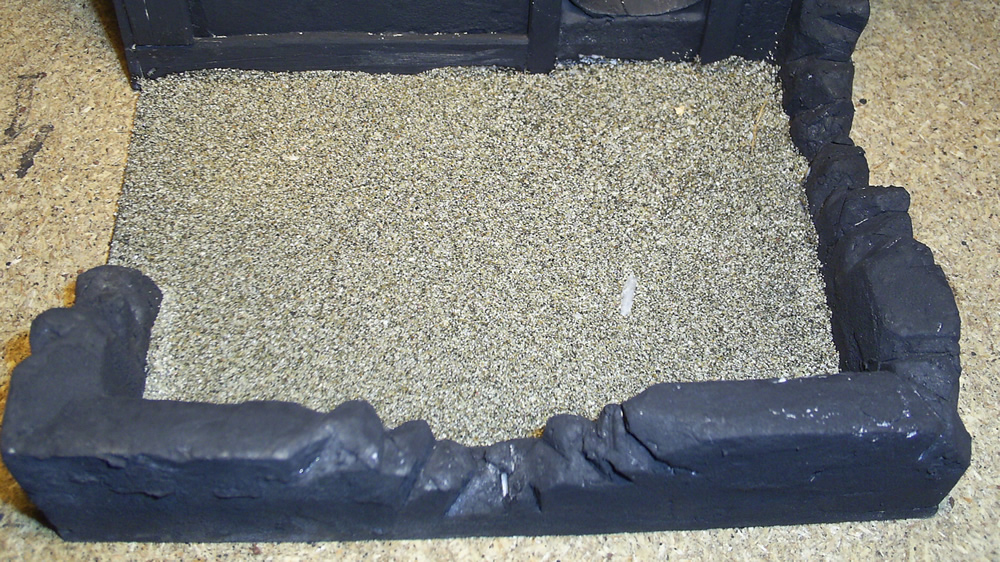
I put down a layer of water glue in the dice catcher/courtyard area, and poured some of my “Camp Cherry Valley” beach sand on it. I think it came out really well. Now I just need a good thick layer of paint to keep the sand in place. I really want to add some rubble to this area, but I don’t want to give the dice a possibility of not landing flat, so it’s got to be boring and flat.
Here’s a picture of the what’s left of the Dice Tower’s Roof.
Enjoy,
Ashton Sanders
Mar 25
Mordheim Roof Tiles
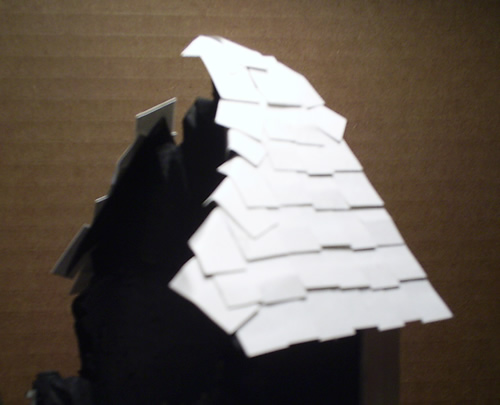
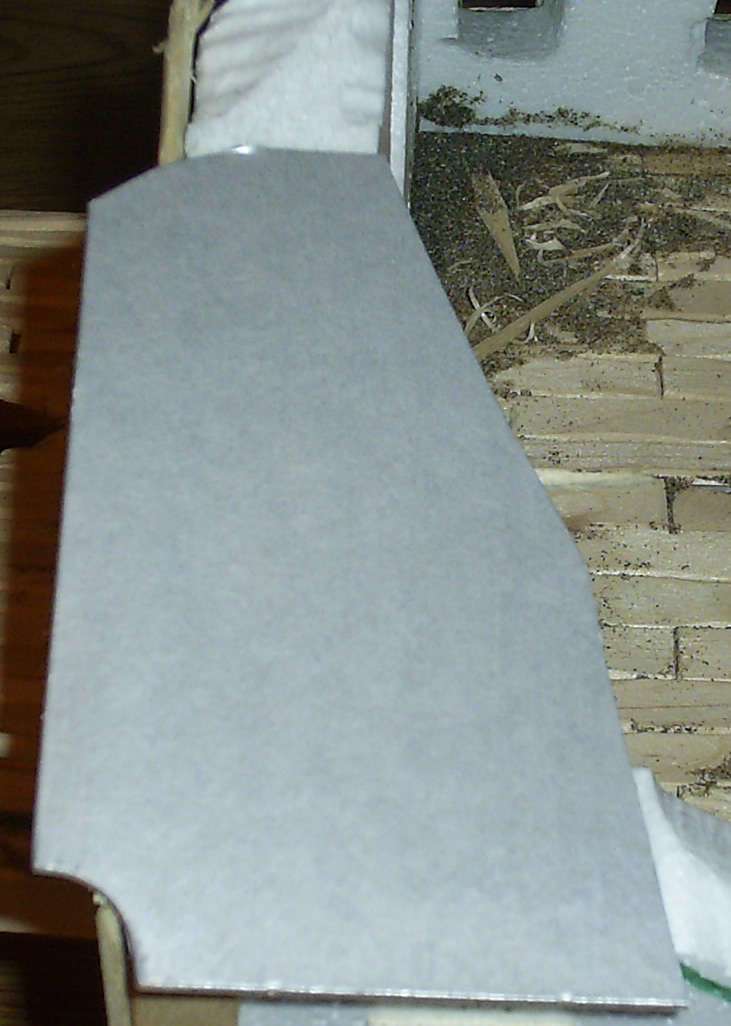
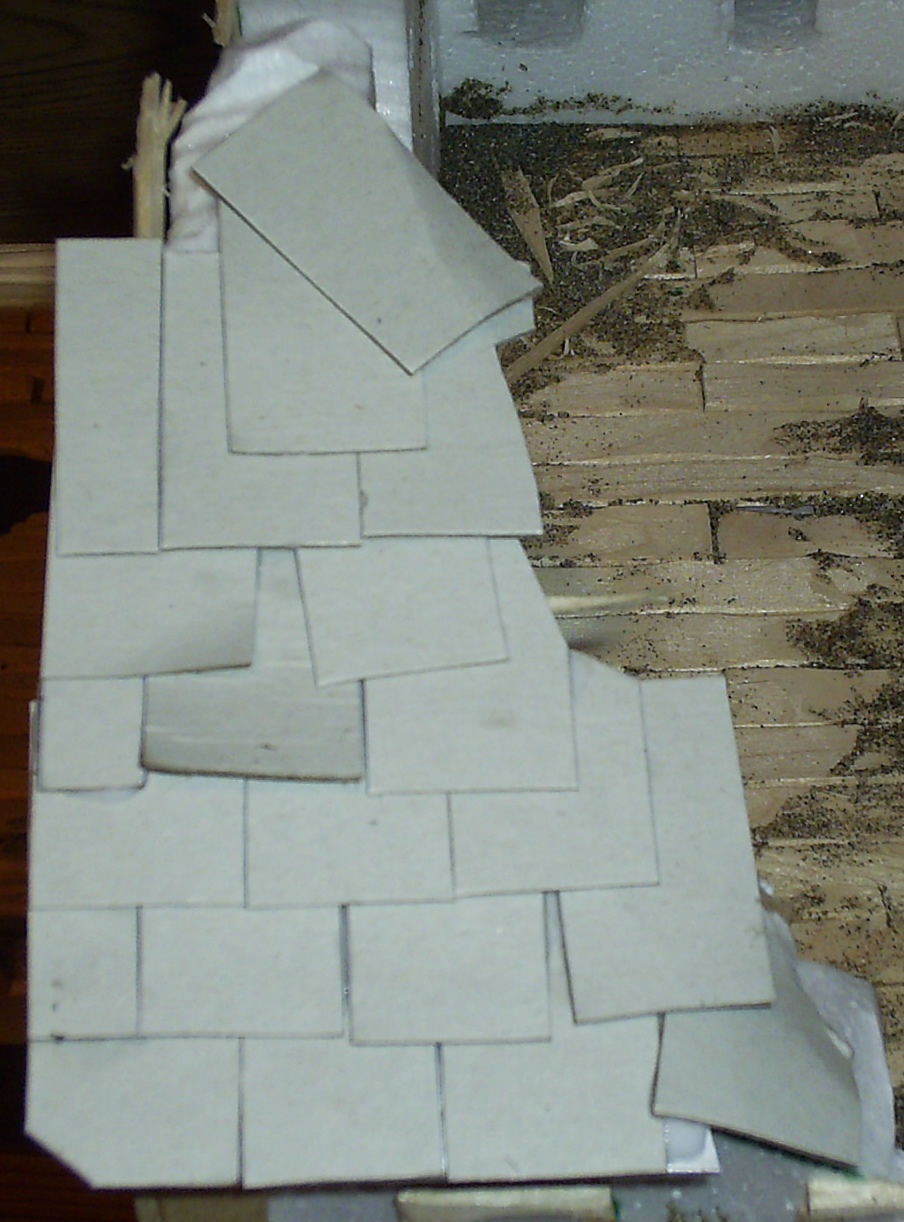
As the month is coming to a close, I’m running out of time to finish my Dice tower. So I don’t even have enough time to write a good description. Here’s a picture blog of what I did tonight on my Dice Tower:
More on the way. I got 5 days to finish making this and paint it…
Ashton Sanders
Mar 18
Mordheim Dice tower Update
This is a quick update because I only have done a couple very simple things:
Added broken wooden planks to the first “ramp” at the top of the tower:
And I glued down the roof, and cut the starting injuries:
My next step will be to add the roof tiles, and then rubble to the roof. I hope to add enough rubble to the roof to allow models to safely stand on top of it.
I’m building this dice tower for a Terragenesis Competition which is ending in 12 days! I better hop to it, and finish up this roof pretty soon.
More to come soon,
Ashton Sanders
Jan 1
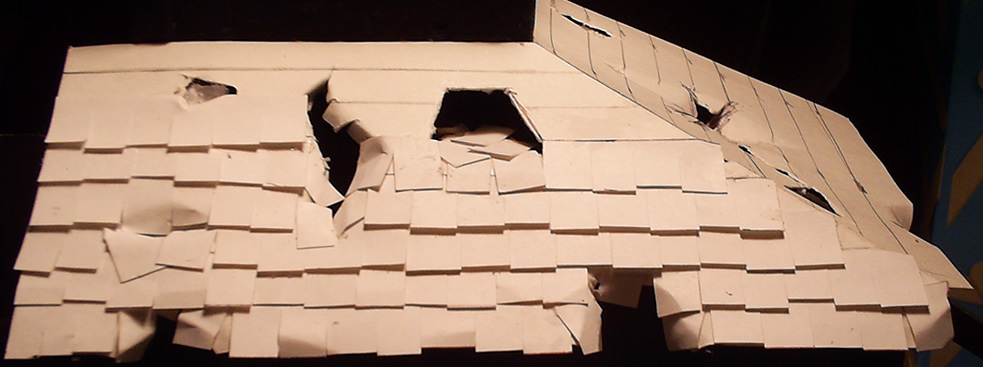
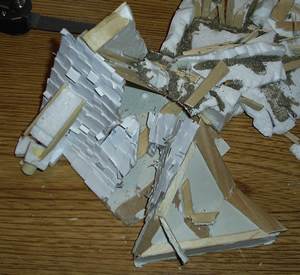
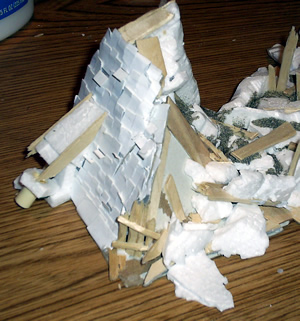
How to Destroy a Roof
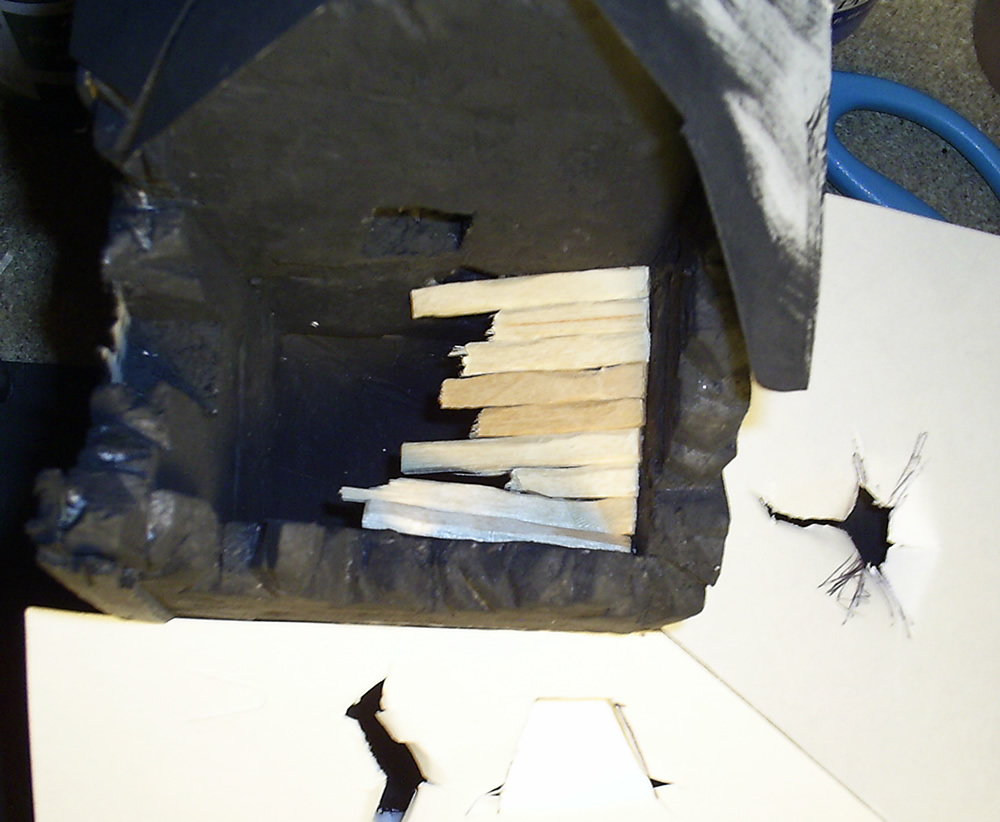
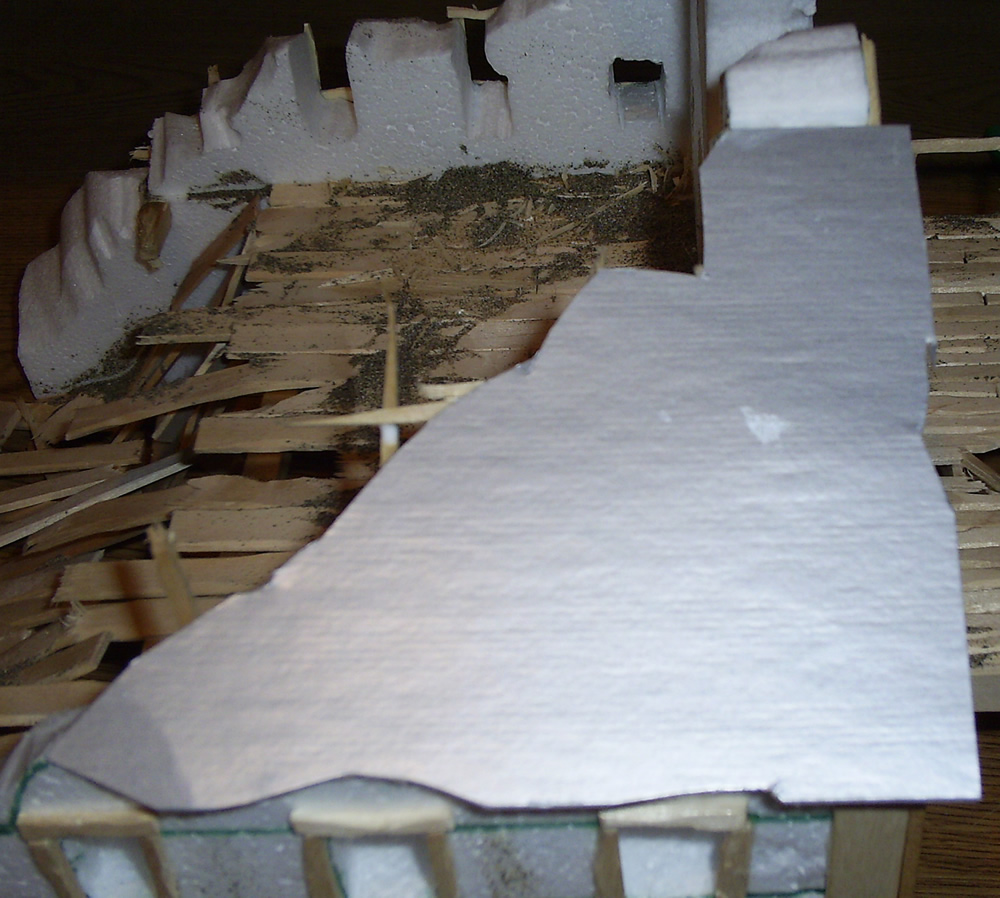
I have been working on my collapsed tower for some time now. I’ve gotten a couple comments mentioning how the roof of the tower, which fell four stories and crashed into the ground, is not destroyed enough. This is how it looked when I first create it:
That obviously is not a roof that fell four stories, so I decided to fix that. Here is the process I took to destroy my perfectly good Mordheim Roof.

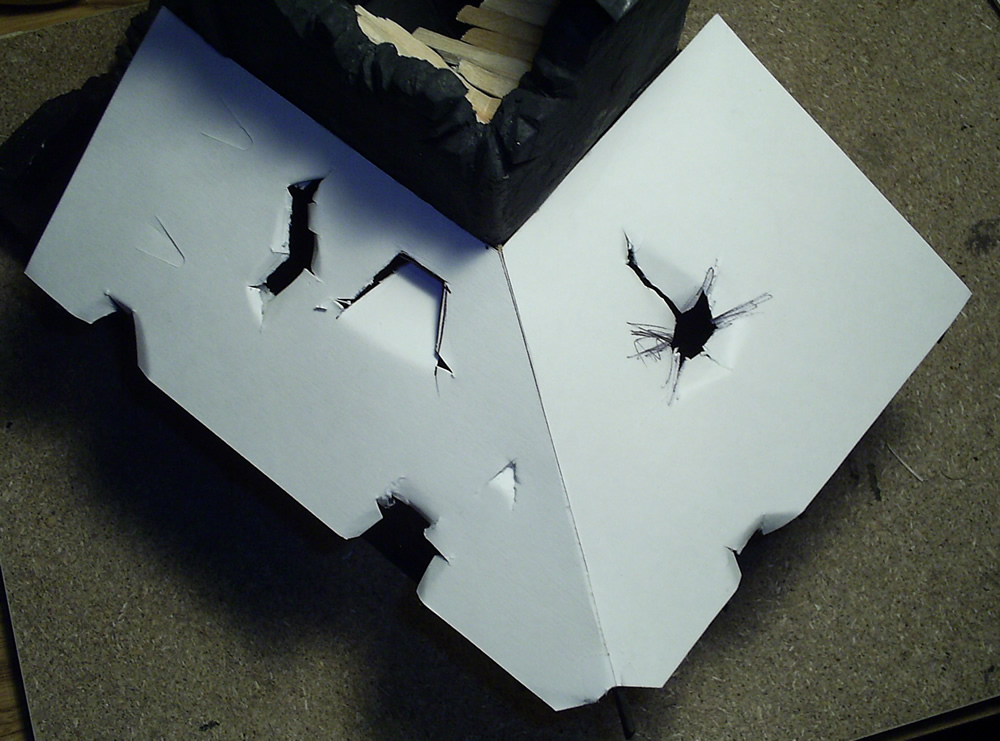
Then I glued it bent the detached section and glued it back into place:
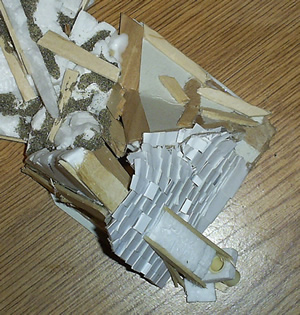
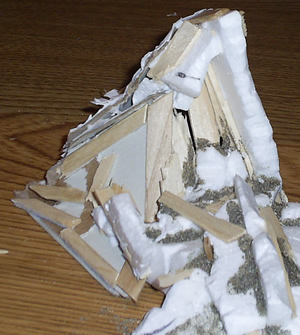
Now I just have to do a little bit of detailing to make it fit in perfectly.
I hope you have a Happy New Year this 2008!
Ashton Sanders
Dec 21
Mordheim Roof Updated
Over the last week, I’ve been trying to create a system to create small Mordheim roof tiles that look good. Most scratch-built Mordheim buildings these days have 1/2″ to 1″ wide roof tiles which translates to 2.5 – 5 feet wide. Which, by the way, is completely ridiculous. After lots of fiddling with different types of material for my roof tiles, I tore off my old Mordheim Roof and created a new one from card stock.
This is the process I created to make the Mordheim roof tiles:
- Cut a strip of card stock 1.1 cm wide.
- Cut slits along one side to create the different tiles.
- Then I cut off the ends of most of the tiles to give each tile a different length.
- Then for to show wear, I bent the tiles and chipped the corners of every other tile.
Here’s an image of the different steps:
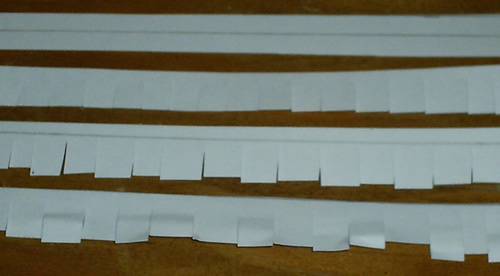
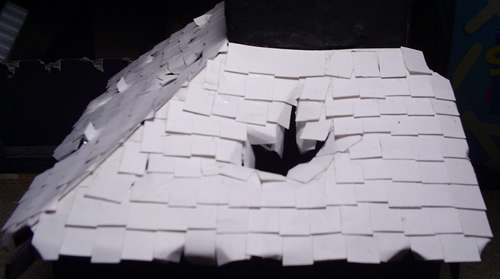
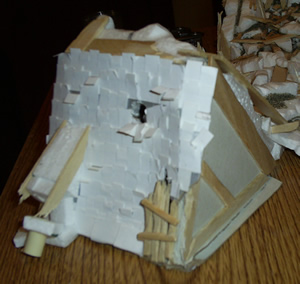
As you can see the completed strip has as much character as I could think of adding (without paint). So I went ahead and cut up almost an entire 8×11″ piece of paper and glued them down on the roof of my competition building:
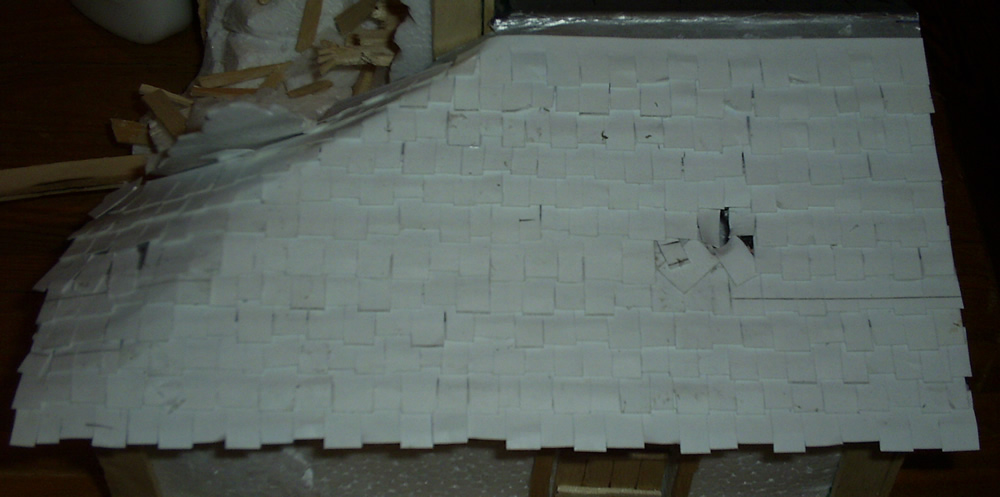
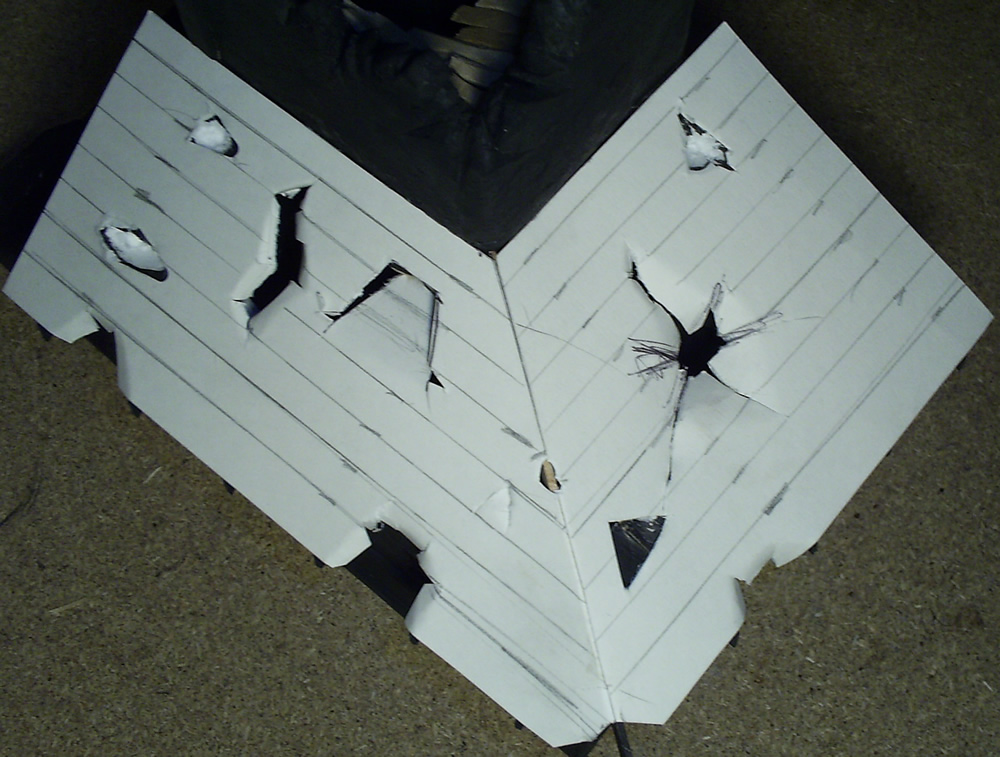
Here’s the other side:
Note the two holes I added to create the leaky roof. I think this came out looking very well. I only have one row of tiles along the peak of the roof to add, and This section of roof should be done.
The only short-coming with using card stock is that it will soak up the paint and become wet. Hopefully it won’t “melt” together and loose it’s shape.
More to come,
Ashton Sanders
Dec 19
New Roofing Tiles
My latest work has been on my Competition Entry for TerraGenesis.com.
I have a couple of minor details to work out before completing the construction phase of my project and moving on to the painting phase. One of the biggest problems I’ve faced is getting the roofing tiles to work. In almost all pictures of Mordheim roofs that I have seen, the roofing tiles are about 1/2″ wide. Which translates into almost 2 1/2 feet wide in Mordheim size. There is no way that most buildings (even in fantasy) would have roof tiles 2.5 feet wide! So began my quest for smaller roofing tiles.
I got a deck of mini playing cards for Christmas and cut those up into rows of roof tiles. This is where I ran into my problem: The playing cards were so laminated, paint wouldn’t stick to them. I tried everything I could think of, and asked for help at the TerraGenesis forum. Unfortunately nothing could solve my problem until I realized I could find a similar material that wasn’t laminated: Card Stock. I even had a couple sheets in my laptop bag!
I cut up one row of roofing and glued it down tonight. I’ll be adding and update about it tomorrow.

Enjoy,
Ashton Sanders
Dec 8
Mordheim Roofing Contractor


Finally the roofing contractor was called out to finish roofing the church. I’ve seen a number of different types of roofing tiles in Mordheim, and I decided to try this style out and see how it goes.
When I was making the building, I added a couple sections of triangle board to the corners of the roof to use as the roof’s “foundation.” This is actually what holds it all together. I added some wooden cross-beams to the inside for some realism. (Made out of Popsicle stick splinters.)
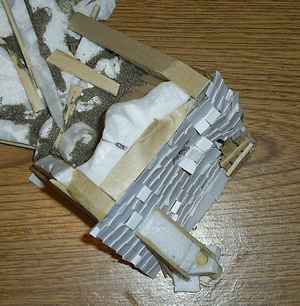
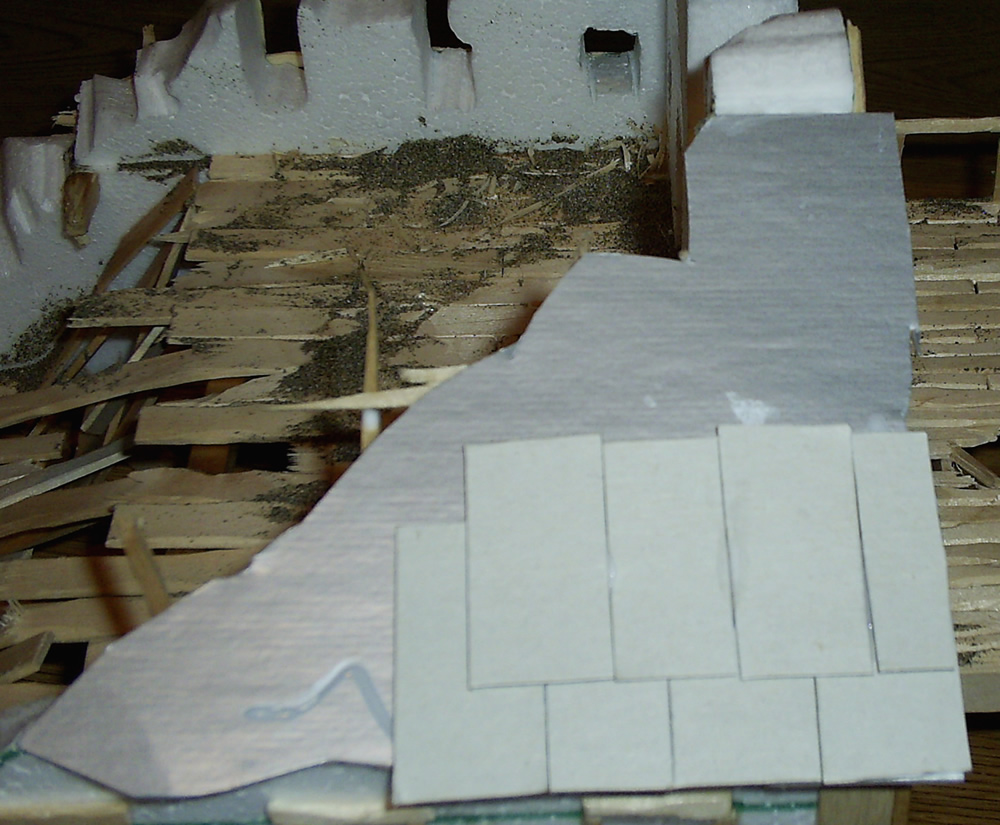
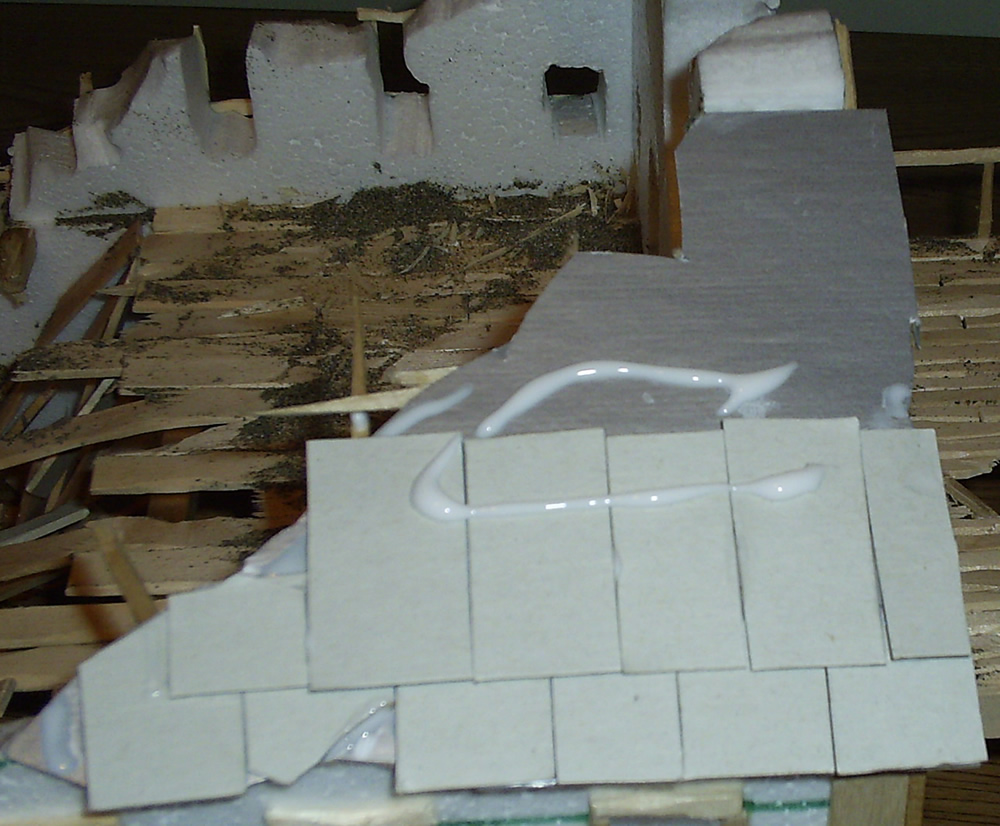
Then it was time to create the roof tiles. I didn’t have any really plan, so I went with my gut: I cut out a rectangle of a Bed, Bath and Beyond box that I had lying around, and cut it into 3/4″x 1.5″ strips. A lot of them came out with slightly different dimensions, but I guess that’s what happens when you hire the least expensive roofing contractor in the business. (I’m doing it practically for free.)
After cutting the tiles to size, I proceeded to glue them down with a good helping of Elmer’s glue. You can see the progression of adding the tiles to the right.
You can click on any of these Mordheim pictures to see a larger image.
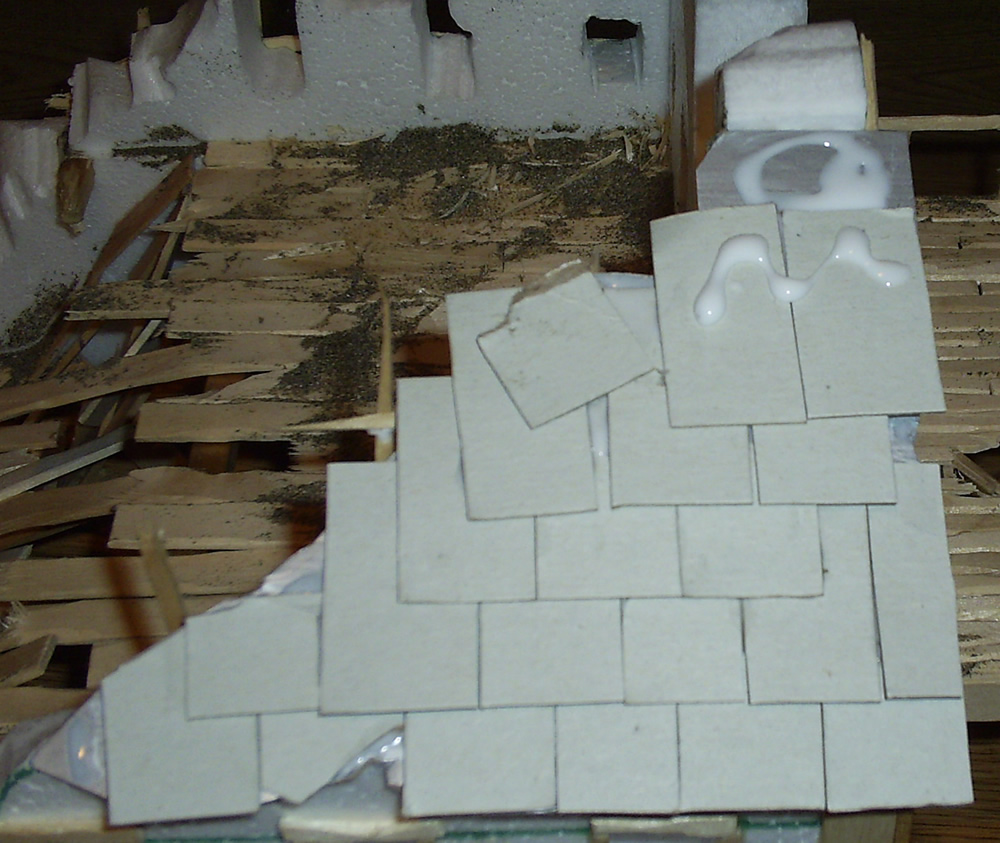
I tried to make most of it look as professional as possible; except for some of the edges where the tiles needed to be destroyed or missing. I think I did a pretty good job of breaking, removing and destroying this Mordheim Building’s roofing tiles. One thing I realized after I had completed this roofing project is that some of the tiles should be curled up at the ends. I did that after I took the pictures, so you’ll see that in the next couple posts.
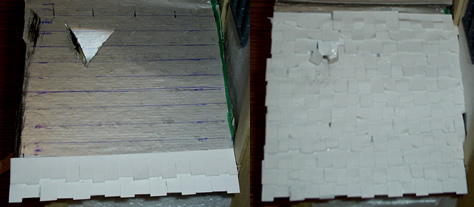
I did the other side of the roof as well, except I only did a before and after picture. You can see those here:
After:
I hope other Mordheim roofing contractors find this useful. If you know of any easier/better way of roofing Mordheim buildings, let me know.-Ashton SandersEDIT 12/9/07: Looking back on these tiles, I should have made them much smaller. At 28mm, these tiles are almost as big as a human… =/ They look fine when you’re not comparing them to anything, but I wanted to add a fallen tile to the debris on the floor and realized it was too freaking big; it looked like a door was sitting on the floor.
More to come.
