Jun 8
Mordheim Terrain Rubble
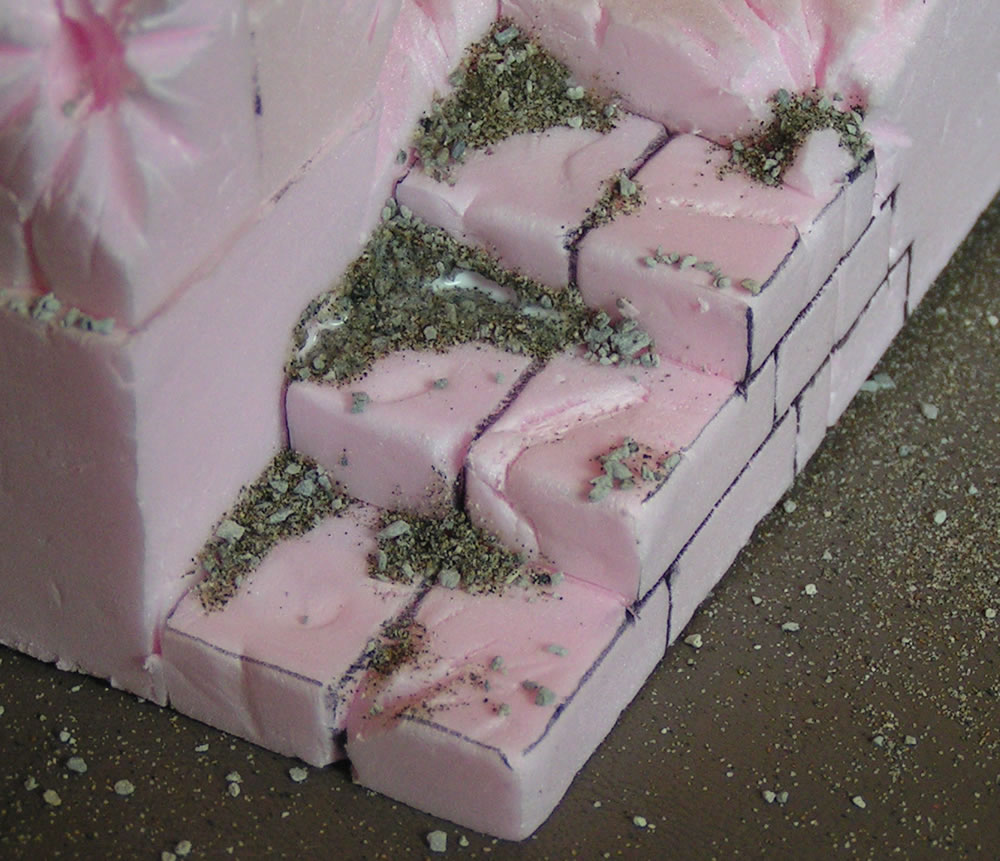
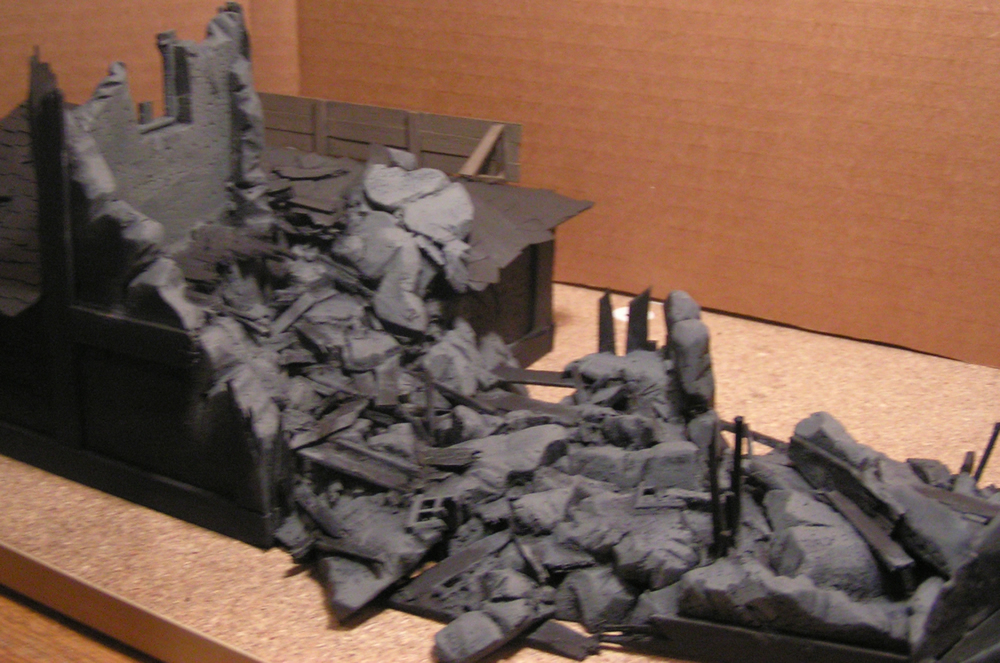
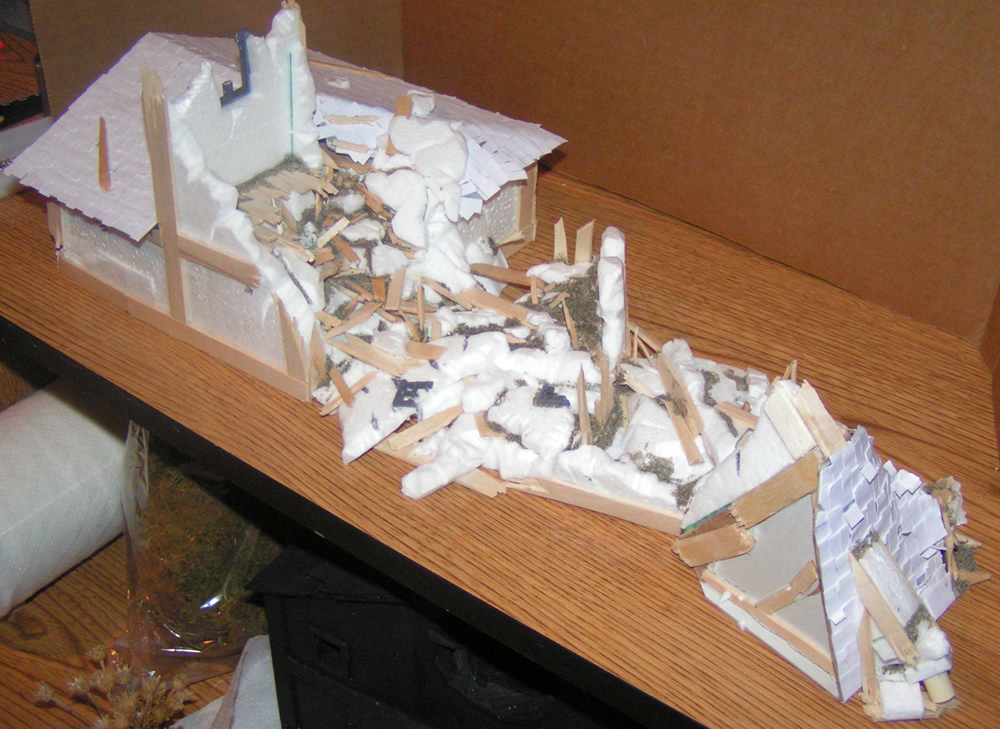
This weekend has been very productive for my Mordheim hobby. I’ve been able to put some quality time into detailing my latest Mordheim Terrain “Elevation.” Since most of the main structure of this terrain has been created, I am now working on the terrain details; namely rubble.
Mar 28
Mordheim Rubble on Tiled Roof
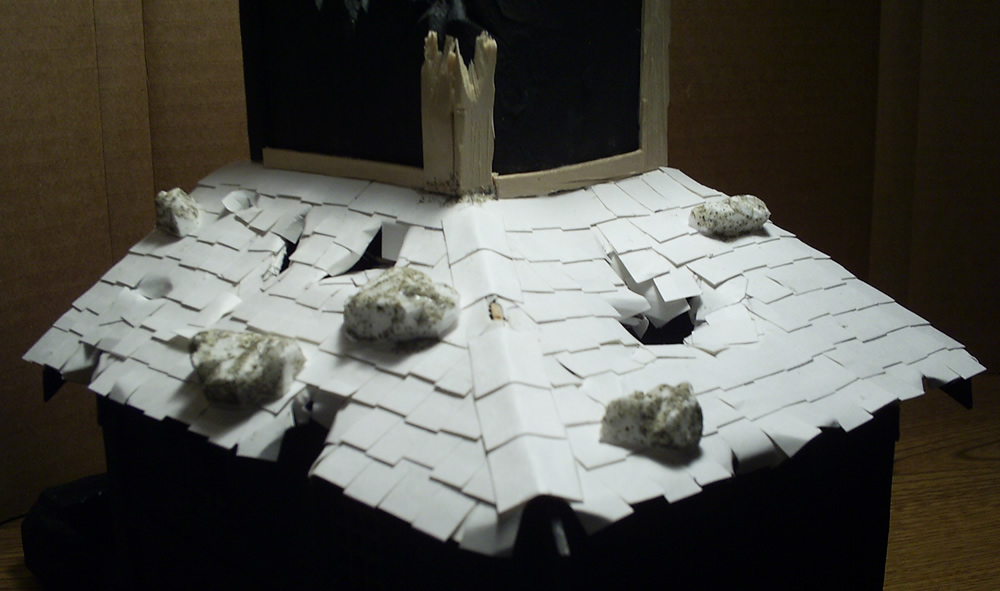
I have added some fallen debris to the Mordheim roof. The idea is that when the comet crashed into the city, either the quaking earth or a shard of the comet caused the top section of the tower to collapse. Some of the rubble broke holes in the roof below, while some of the smaller pieces ended up staying on the roof. The rubble also doubles as places for models to sand on.
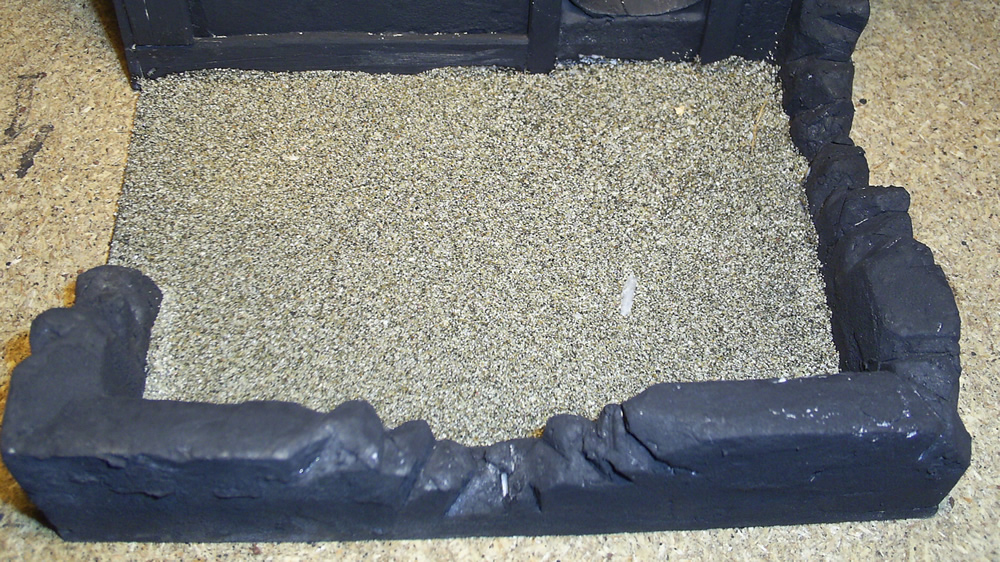
I put down a layer of water glue in the dice catcher/courtyard area, and poured some of my “Camp Cherry Valley” beach sand on it. I think it came out really well. Now I just need a good thick layer of paint to keep the sand in place. I really want to add some rubble to this area, but I don’t want to give the dice a possibility of not landing flat, so it’s got to be boring and flat.
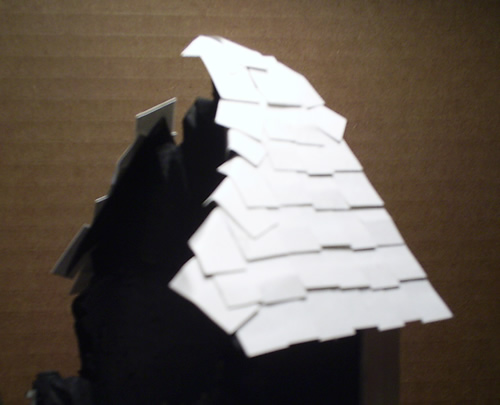
Here’s a picture of the what’s left of the Dice Tower’s Roof.
Enjoy,
Ashton Sanders
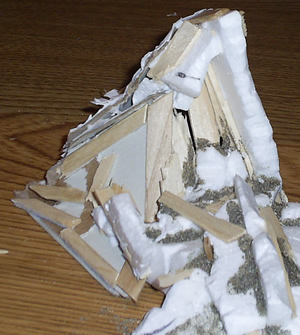
Jan 27
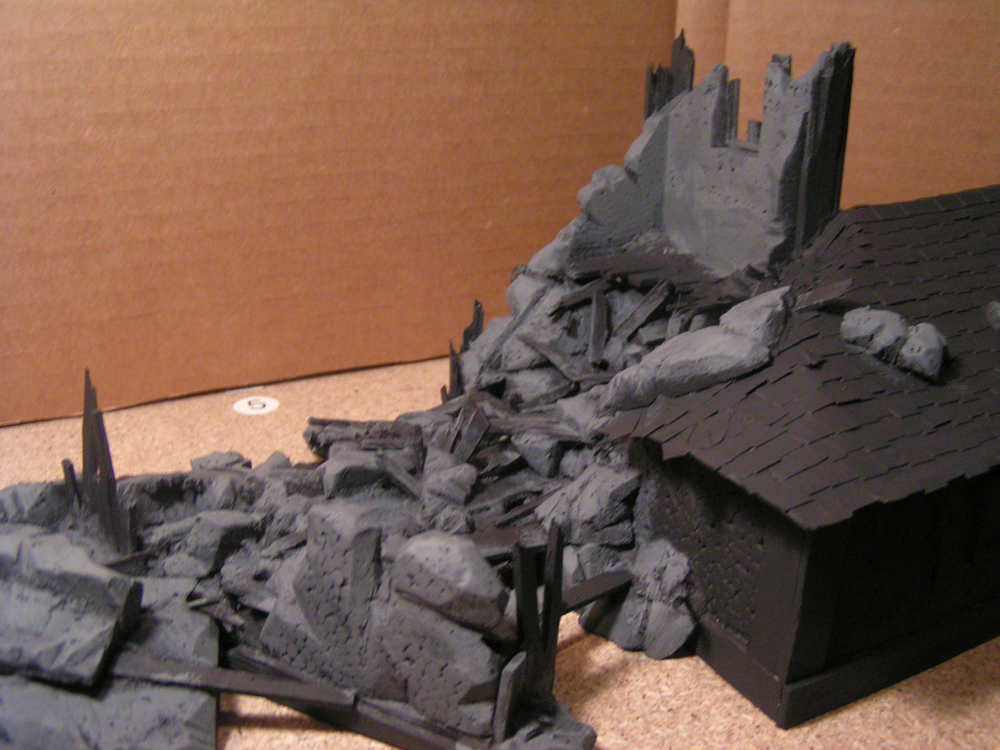
Mordheim Tower – Sneak Peak
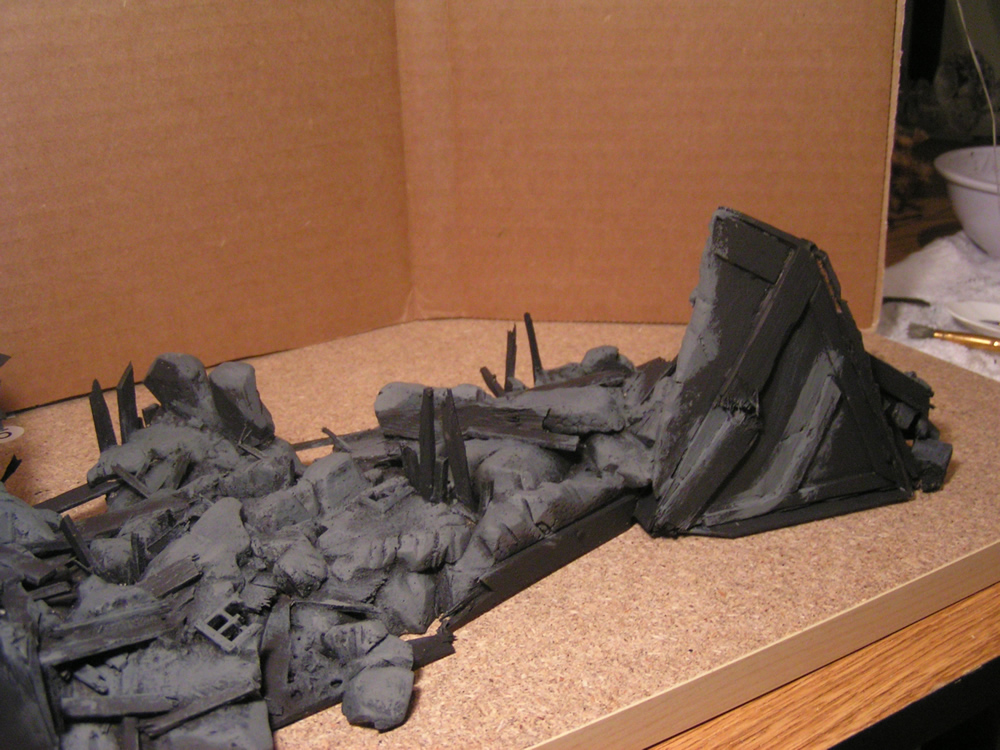
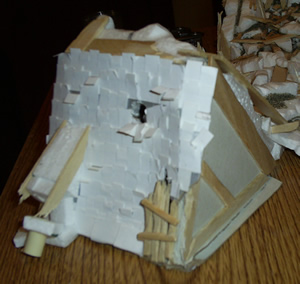
I’m getting very close to completing my Mordheim tower. All I have left is some final details for my collapsed tower, and I thought I’d give you a little sneak peak of the color I chose to use on the walls and what the wood in the rubble looks like.
Here’s a picture:

You can see an arrow that is sticking out of the side of the building in the shadows (top right) as well.
In this picture you can see the two different “kinds” of wood in the rubble. The floors of the tower were made with a nice light pine wood, while the wood on the outside of the building was mostly aged/weathered oak (the darker color).
More to come soon,
Enjoy,
Jan 17
Skaven in the Ruins
I took some pictures of some of my Skaven models hiding in the ruins of my Collapsed tower. Enjoy:
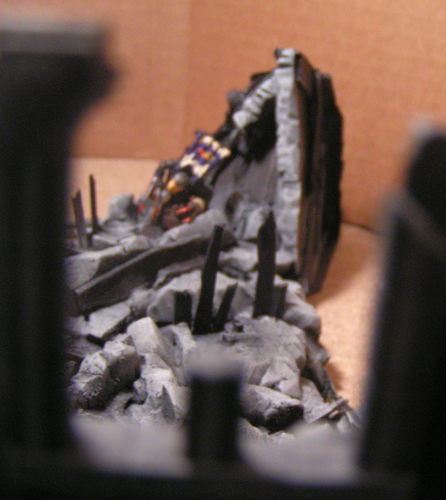
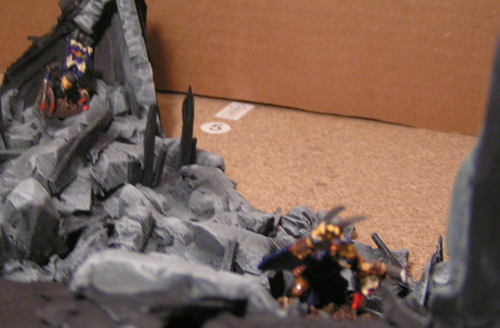
I’m going to be repainting these models this year =).
-Ashton Sanders
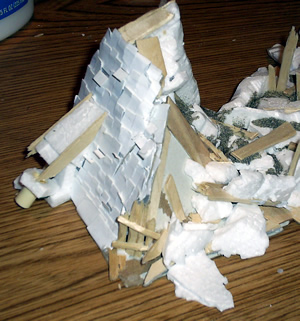
Jan 14
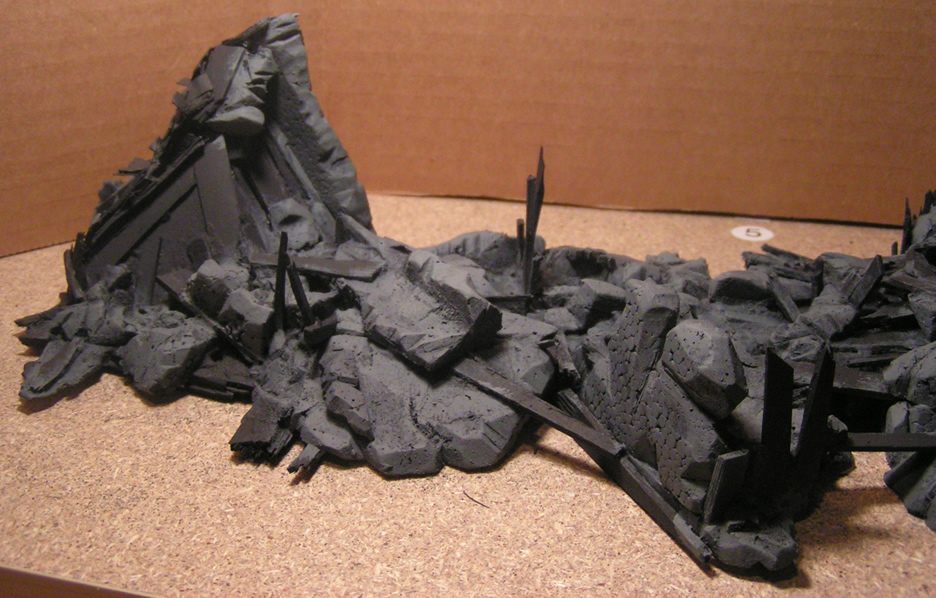
Highlighting the Cement
Although Cement is normally thought of as a “dull” material, sunlight gives just about everything highlights. After I gave my pile of rubbles a good think brushing of Dark Gray, I drybrushed it with subsequent coats of lighter and lighter gray. Each times the color got lighter, I used less paint and didn’t press as hard with my brush. This gave the impression of highlights on the edges of the cement.
Hover over this Picture to see the Before and After Differences:
Here are four different angles of the pile of rubble now: Read the Rest of the Post >
Jan 12
Painting the Mordheim Cement
I’ve narrowed my pile of rubble down into three main colors.
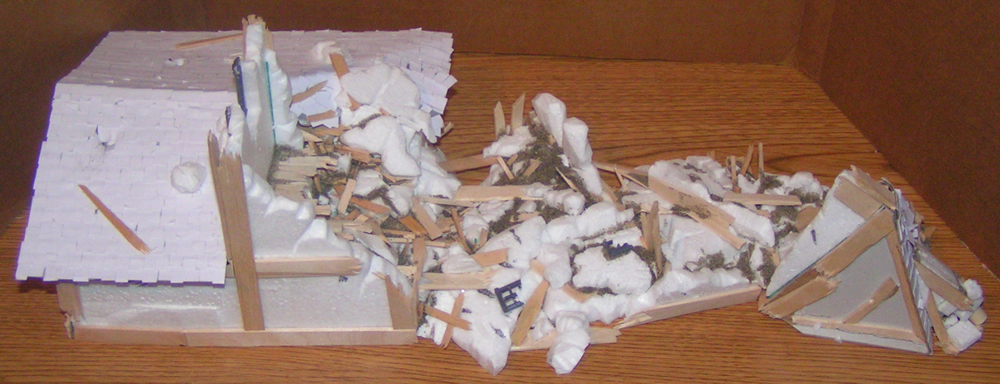
Before this Mordheim tower was destroyed, it stood four stories tall, and was made of gray cement. This gray color is definitely going to be the most prominent color in my pile of rubble.
The next most prominent material in my Voltaire’s Magic Shop is wood. Each floor and all of the stair cases were made of wood and although many of the loose pieces of weed have been hauled off by travelers to build ladders, mend fences and make shields, there is still a good portion of wood sticking out from the rubble. There are two main types of wood here. The first is the weathered, darker wood from the framing on the outside of the building. The second is the lighter wood from the interior of the tower. This wood didn’t have to endure the years of harsh weather before being knocked over by a comet.
The last color is the color on the outside of the tower/building. This color will only be on a few sections of the cement. I still haven’t made a final decision on what color I’m going to paint this building, so this color is up in the air.
I will be painting my pile of rubble (along with the building) in this order. So here we start with the gray cement. Here is the first coat of dark gray:
I will need to finish up this tower by the end of February, so look for a good number of posts from me on this project in the near future.
-Ashton Sanders
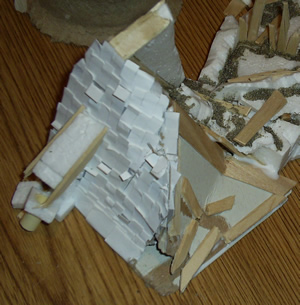
Jan 2
Making Rubble Look Real
Here’s some tips to making a realistic looking pile of rubble!
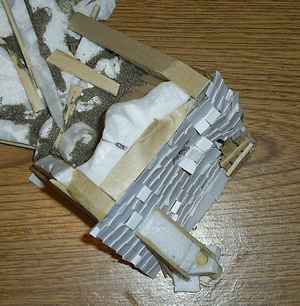
Most of the work I’ve been doing on this tower is detailing the pile of rubble. I noticed that on this competition entry on TerraGenesis.com, they made a pile of rubble to cover the batteries for the LED lights. This is the pile that he made:
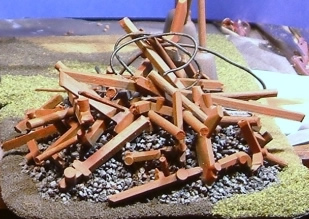
To me, this is a pretty ugly pile. I found that the reason is because the pieces of wood are on top of the gravel as opposed to in the pile. So I started making sure that my pile of rubble was very realistic. I’ve done about 4 hours of detailing work on my pile of rubble to make it look as real as possible. I’ve been filling in any deep crevices with glue and pieces of wood and foam. I filled the holes with glue and then covered it all with sand. After it dried, I shook off all the excess sand.
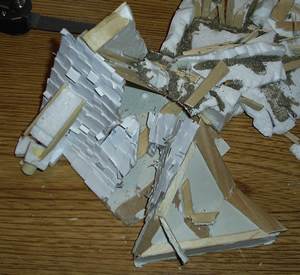
Here’s some pictures of the updates:
I also added a destroyed window frame to the rubble, You can see it still attached to a piece of wall in the rubble.
Here is a close up of the collapsed tower roof.

Here is a close up of the pile of rubble at the base of the building.

I hope this will help you to make great piles of rubble. =]
Enjoy,
Ashton Sanders
Jan 1
How to Destroy a Roof
I have been working on my collapsed tower for some time now. I’ve gotten a couple comments mentioning how the roof of the tower, which fell four stories and crashed into the ground, is not destroyed enough. This is how it looked when I first create it:
That obviously is not a roof that fell four stories, so I decided to fix that. Here is the process I took to destroy my perfectly good Mordheim Roof.

Then I glued it bent the detached section and glued it back into place:
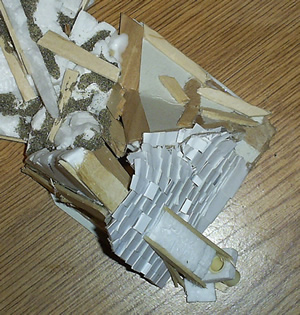
Now I just have to do a little bit of detailing to make it fit in perfectly.
I hope you have a Happy New Year this 2008!
Ashton Sanders
