Nov 14
Mordheim Tree – Cut Down to Size
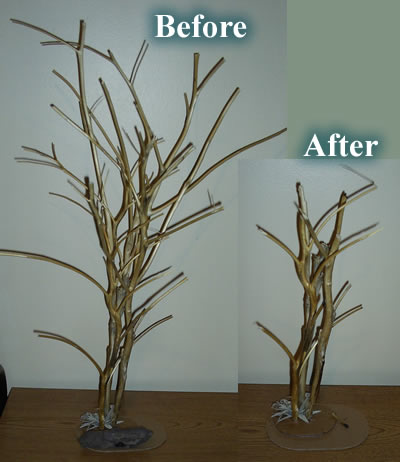
So my first experiment with a Mordheim Tree didn’t turn out as well as I’d hoped, so I decided to do some modifications. I have trimmed down the trees to a much more reasonable height. I will definitely have to add something to the limbs as they are very empty. I have been thinking about hanging a skeleton in a noose, or maybe some sort of creature’s nest.
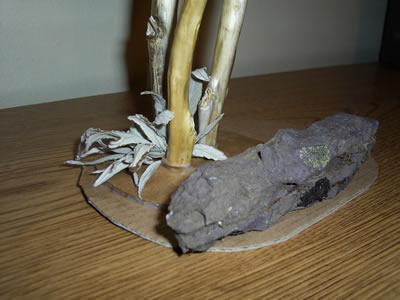
You can also see in this picture that I created a small bush growing at the base of the trees. I found a plant with small pointy leaves, and dried it. Once the leaves were totally dried, I pulled them off, and stuck them together into a pile of Elmer’s glue. As the leaves got thicker, it started to look more and more like a yucca/fern type plant. Definitely something created by the wyrdstone.
Who knows how the Mordheim tree will actually turn out?
Definitely not me
-Ashton Sanders
Nov 13
Mordheim Trees
On most Mordheim Tables, there are very few trees. Actually, I think I’ve only seen one Mordheim Table that had a tree, and it was approximately 3 inches tall.
I realize these trees are Redwood-size, and following the story line of Mordheim, there really is no way they could have survived the impact of a two-tailed comet. “So What?” This is my first one, so I’m testing it out.
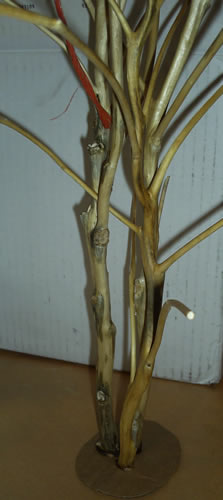
I found a tumble weed that has a cool, thick trunk, and it looks like a great miniature tree. Here are the pictures of my first set of Mordheim Trees:
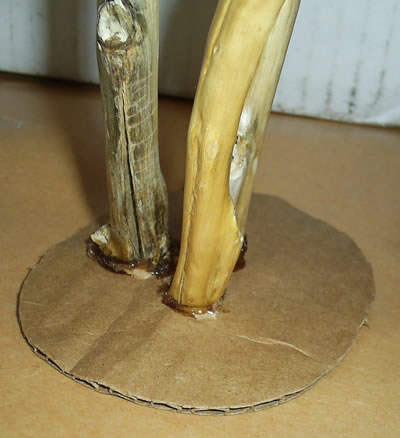
I cut three perfectly sized holes in this small piece of cardboard, and stuck in the trunks of the three tumble weeds. I placed this normal cardboard onto a thin piece of thick board and glued it with super glue and Elmer’s Glue. I used the Elmer’s to smooth out the edges of the cardboard.
I used bailing twine (orange string) to tie the tops of the trees together to keep them in place while I glued the branches that touched to stabilize it.
Yes, I realize they are FREAKING HUGE.
-Ashton Sanders
Nov 12
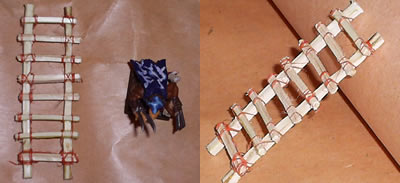
Mordheim Ladder
My next project was to build a Mordheim Ladder without spending any money.
- I found a thin tree branch sitting in my driveway. It was still fairly green and made of good, hard wood.
- I cut two of the branches into pieces the same length as the normal Mordheim ladder and shaved them into long rectangles (as opposed to cylinders). I cut 8 much smaller rectangles to be used for the rungs of the ladder.
- I glued the pieces together with Elmer’s Glue.
Here you can see the progression from branch to rectangle to ladder.
- You will also notice in this picture, a long orange string. This I glued into place at the top of the ladder to be used as the lashing rope. (Skaven don’t glue ladders together, they use lashings.) This orange string is actually one thread of bailing twine (what holds bails of hay together).
- After the glue dried, I lashed the ladder rungs together. (I used tried to make it as unorganized as possible, although looking at this ladder, it’s much nicer than a clan of rats (or Orcs) would ever take the time to make… I’ll have to say it’s just sloppy humans.)
Now all i have to do is stain/paint it.
-More to come
–Ashton Sanders
Nov 11
First Destroyed Building Section
Welcome to this post on my First Mordheim Building. (Click to view all posts for this Mordheim Building.)
I’ve spent the last couple months saving all of the packing foam/material I could find. Now I’ve got a couple boxes full of Styrofoam, and finally have some time to test it out. I remember having trouble with Styrofoam because of how it reacts with both spray paint and some types of glue.
I started with a thin yet tough piece of cardboard (from a Logitech Speaker box) and a edge section of Styrofoam:
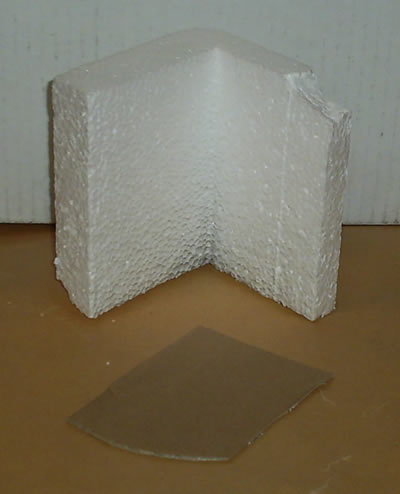
I took an old pocketknife I had lying around, and heated it over the fire on my stove. When it was hot, I’d make a quick cut through the foam. Then, I’d repeat the process. This is great for making straight cuts for doors, windows and the like.
If you’re looking at destroying an entire wall, probably the easiest way I’ve found is to break/cut off the section. This will make lots of loose foam bubbles and your wall will look like foam. To smooth out the foam, just hold it over some heat. This will melt all of the loose foam pieces and create a fairly smooth wall.
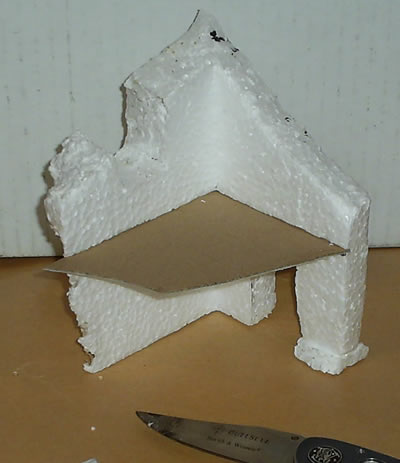
To get the piece of cardboard into place, I first drew a straight line with a marker, and then using my hot-knife technique, I cut along the line. This left a perfect slot to slide the cardboard into.
More to come,
-Ashton Sanders
