Apr 25
Making Picture Frames
As I’ve been trying to get more and more detailed with my Mordheim terrain, I have found myself trying to create what would equate to a .5″ x 2″ plank of wood, which in real life is a cm wide and a couple millimeters thick. I’ve tried carving down a larger piece of wood, but I could never get the sides to be straight. Then I had an epiphany. The answer was in front of me the entire time.
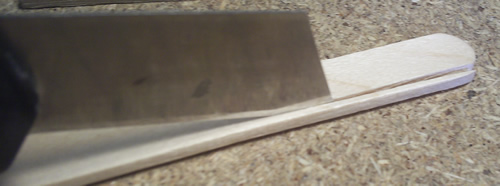
it’s really quite simple. Take a Popsicle stick and a sharp razor blade or Exacto knife, and cut a thin silver off the side of the stick.
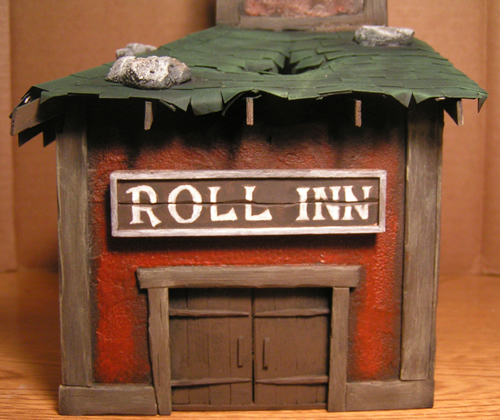
I thought this would be harder than it actually ended up being. The grain of the Popsicle stick already starts you off in the general direction, you just have to make sure you don’t waver too much. This is what I used to create the frame around my Mordheim Dice Tower‘s sign:
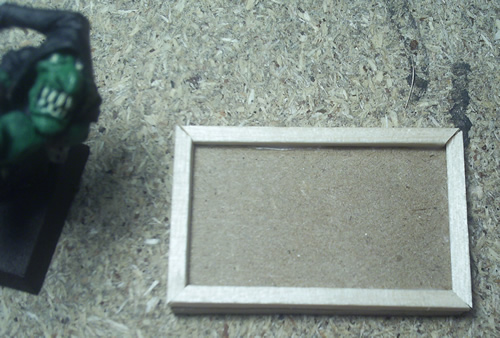
Now that I’ve shared this idea with you, I’ll show you how I made this border. This can also be used to create picture frames and that sort of thing.
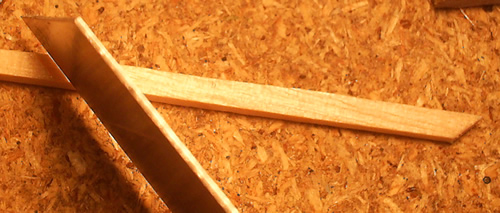
Once you have sliced a couple thin planks, cut four lengths that you want to create the frame with. Let’s say, the picture frame is going to be 5cm by 8cm. I’ll cut two lengths of 8cm, and 5cm. (Yes they will overlap initially.) Then you will cut the corners off at 45′ angles:
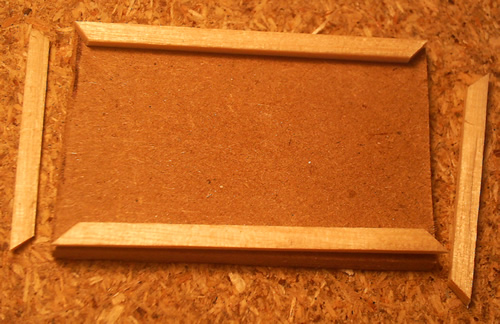
Then you simply glue it onto your picture:
Let me know if you come up with any other great ideas for these thin pieces of wood.
-Ashton Sanders
